Showing posts with label Azuki bean. Show all posts

Wednesday, June 11, 2014

Wu Pao Chun's Matcha Red Bean Toast


I have a colleague in office who loves baking and cooking as much as I do. Some 2 weeks back she asked if I knew anything about Wu Pao Chun's Champion Toast and also if I have tried baking it.  

There have been much ravings about this loaf and I saw many food bloggers baking these loaves. I bookmarked this but no action taken thus far.  Now that my colleague brought this up, I thought it's time that I bake one.  

This bread is good in the sense where there is no need to prepare the sponge dough a day before. I can make this bread at anytime I want to. The bread is soft due to the amount of milk used. Best of all, no need for egg! Easy peasy.  A must-try indeed :)


Wu Pao Chun's Matcha Red Bean Toast
Recipe by Baking Taitai

(I used my leftover azuki beans instead of white chocolate)


198g Fresh milk 
270g Bread flour 
30g Organic wholemeal flour 
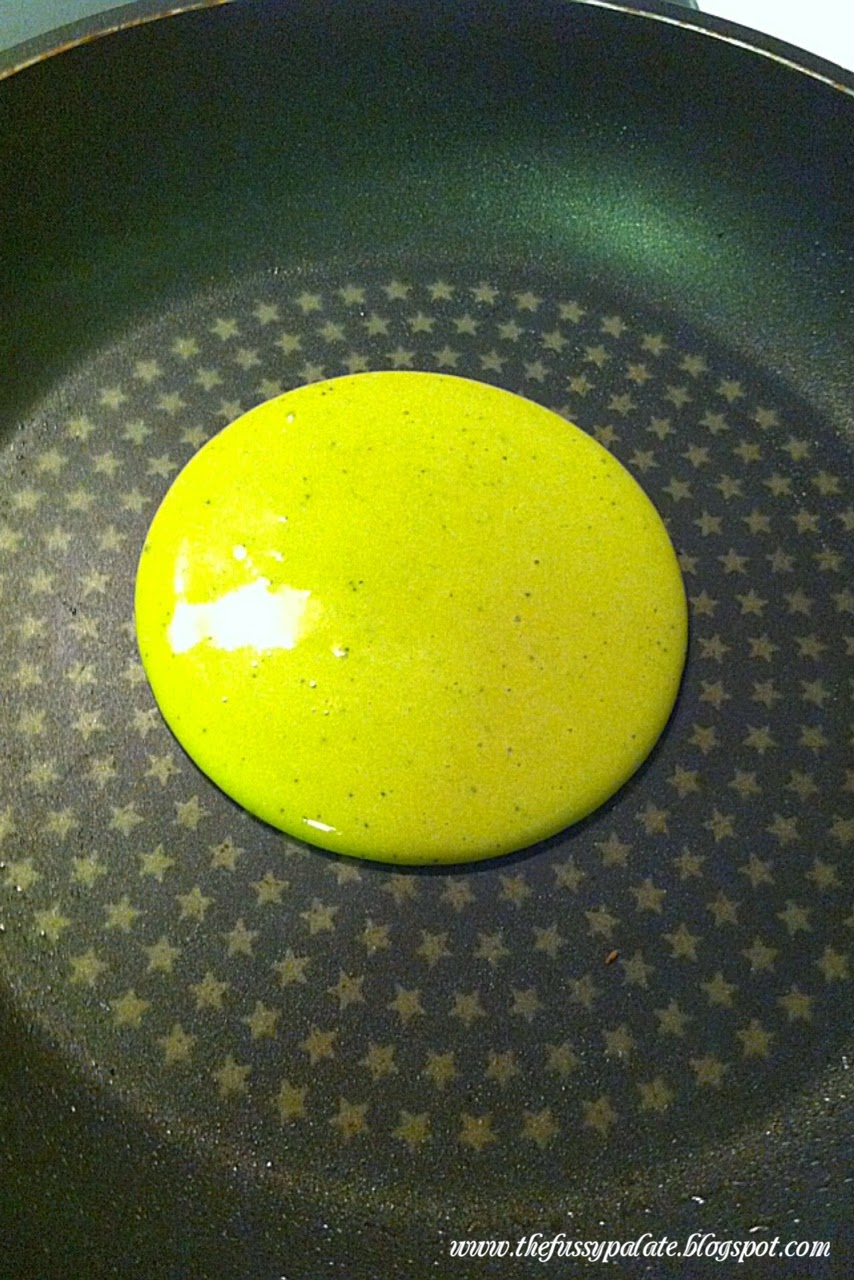
10g Matcha powder (can replaced with Cocoa powder)
14g Organic raw sugar (can replaced with castor or fine sugar) I used 30g castor sugar
1 tsp Salt  (about 3g)
1 tsp Instant dry yeast (about 3g)
14g Unsalted butter 
100g White chocolate chips I used 45g azuki bean paste

*I reduced the amount of sugar as the white chocolate chips are sweetened. 


Breadmaker loaf method:  

1. Place all ingredients based on the sequence listed above (except butter) into the breadmaker pan. (Note: Place sugar on the left side and salt on the right side. Make an indention at the centre of the flour and add instant yeast, make sure it does not touch the wet ingredients below.

2. Select pasta program. (Kenwood BM250 - select program '9' , this cycle takes 14 minutes to complete.)

3.  At the end of program '9', select basic loaf program and add in the butter. (Kenwood BM250 - select program '1',750g loaf and light crust , this cycle takes 3 hrs and 18mins to complete.) 

Update:If you are baking the bread in the oven, at the end of program '9', select dough program, add in butter. (Kenwood BM250 - select program '8', this cycle takes 1 hrs and 30 mins to complete.). 

4. Add in the white chocolate chips at the end of the 2nd kneading cycle. (Kenwood BM250 will sound an alert for adding the ingredients at the timing 2:56.)

If baking in oven, remove 1st proof risen bread dough and knock out air. Divide into 3 equal portions and leave aside for 5min to let the dough relax before rolling it out.  Spread azuki red bean paste over dough and roll it up like a swiss roll.  Put dough into a greased loaf tin or Pullman tin and let proof for 1 hour or till 3/4 of tin. Bake in preheated oven at 180deg C for 20min or till done. 

5. Remove the dough paddle at the last stage of kneading so that the bottom of the loaf will not have a big hole.  (Kenwood BM250 -remove at 1:42) 

6. Shape the dough back nicely after paddle is removed, close the lid and leave the dough to rise。When baking is done, remove the bread immediately from the baking pan to prevent shrinking and sweating. Cool it on a wire rack for about 30 mins before slicing

7. Store in an air-tight container and consume within 2-3 days as homemade bread does not contain any preservatives.

Monday, June 9, 2014

Overnight Soft Buns with Spicy Tuna & Red Bean fillings

Believe or not, it's been over a month since I am back but I am still having the post holiday mood.

I miss the 2 plus week spent in Europe, not worrying about work and chores, what to cook and bake, but just sightsee, eat, sleep and enjoy.  Good times always pass so fast.  I can only look forward to my next vacation.  Life is not just about work, we need holidays to balance out the fast paced life here. I cannot imagine a life without vacations!

I have been baking loaves of bread and not buns, so I am back at it again, this time using recipe by Cornercafe.


Overnight Soft Buns with Spicy Tuna & Red Bean fillings

Overnight Poolish:
150g bread flour
150g lukewarm water
0.5g (1/8 teaspoon) instant yeast

Main Dough:
250g bread flour
100g cake flour (or plain flour if desired)
15g milk powder
50g caster sugar
6g (1 1/4 teaspoons) salt
5g (1 1/4 teaspoons) instant yeast
1 egg, lightly beaten
75g (approx.) lukewarm water, adjust as necessary
50g butter, cut into small cubes

Fillings:
A can of spicy tuna mixed with 1 medium chopped onions, divide into 6 portions (if you like it drier, you can stir fry it in a pan for a while)

240g red bean paste (rolled into 40g ball each, for 6 buns)


1. For the poolish, mix all ingredients in a mixing bowl together until incorporated. Cover with cling film and let it proof for about 1 hour in a warm place, then place into the refrigerator to chill (preferably at 5°C but not strictly, a couple of degrees off is still fine) for at least 16 hours; it should be bubbly at this stage. Let poolish return to room temperature, about half an hour, before using.

2. Sift bread flour, cake flour, milk powder, caster sugar and instant dry yeast onto the working surface and mix well. Form the flour mixture into a well and add lightly beaten egg, room-temperature poolish and salt, then
gradually add just enough lukewarm water to form into a slightly sticky, soft dough. Knead for 10 minutes until smooth and elastic.

3. Finally knead in the room-temperature butter, a cube at a time, until incorporated. (In many cookbooks, they mentioned that the dough at this stage should be able to be pulled and stretched into membrane – “window pane test”, but it’s hard to achieve with hand kneading because the dough does not heat up as much as when using machine. I usually stop kneading when the dough stretches like chewing gum when pulled!) Form the dough into a round ball and let it rise in a warm place (preferably at about 26°C – 28°C) until at least double or nearly triple in size in a large greased bowl, covered with cling film (should take about 1 hour in optimum warm temperature, longer in winter months). To test if the dough has risen properly, dip a finger into bread or plain flour and poke down into the
centre of the dough as far as your finger will go and pull out again – the hole should remain if it is ready. If the dough springs back, then it is not ready, continue to prove further.

4. Punch down, knead briefly and form into a ball shape. Then divide into 12 or 16 equal portions. The easiest way is to first divide equally into 4 larger portions first, then divide each of these again into thirds (for 12 portions) or quarters (for 16 portions) each. Form each into balls and let rest for 10 minutes.

5. Shape and fill the buns according to recipe. Place all finished buns on a greased baking sheet, lightly cover with cling film, and let rise in a warm place until double in size (about 1 hour in warm weather, longer in winter months).

6. Brush with eggwash if the recipe calls for it and bake in preheated 190°C oven for about 12 to 15 minutes, or until golden brown.

Sunday, March 30, 2014

Matcha Dorayaki

Hubby was away in Indonesia for biz trip last week and I was alone at home for one night before I went to stay at Mum's place for the next three. I had a slight craving for something matcha flavour, so I made some matcha flavoured dorayaki for breakfast the next day.

Now, I used to buy bakeable green tea powder from Phoon Huat for my bakes, but ever since I got my hand on a mini can of matcha powder from the Japanese section found in NTUC Finest, there is no turning back for me again. Costly for a mini can but well worth the price. Phoon Huat's bakeable green tea powder pales in comparison.


This small can costs slightly over 7 bucks.


I made Dorayaki several times before and came up with the following recipe I thought works the best for me.


Matcha Dorayaki (Makes 4 sets)
2 large eggs
60g caster sugar
80g plain flour + 1/2 tsp baking powder (sieved)
1 tbsp honey
1 tbsp oil
1-2 tbsp water
2 tsp matcha powder

Fillings - Azuki bean paste or Nutella chocolate jam

1. Combine eggs, sugar and honey in a mixing bowl and whisk till fluffy.
2. Add in sieved flour mixture into batter and mix till well blended. Cover with clingwrap and leave in fridge to rest for about 10 minutes.
3. Add water into batter and mix well. Batter should be slightly thicker than pancake batter. Too thin a batter will result in flat pancakes.
4. Heat a non-stick pan over low heat. Lightly oil the pan with oil. Too much oil will result in unsightly pancake surface.

Pan brushed with too much oil here!
Ugly pancake surface.

5. Using a ladle that holds about 2 tbsp of batter, drop batter into pan to form an even and round diameter. When you see bubbles forming on batter surface, flip using a spatula to cook other side of pancake. Transfer cooked pancakes to plate covered with clingwrap to prevent drying. Repeat till batter is used up.


Bubbles start to form and it is time to flip and cook the other side.

Lightly oil pan and you get this nice pancake surface.


6. Sandwich pancake with azuki bean paste or nutella jam. Wrap dorayaki with clingwrap until ready to serve.