Showing posts with label Steaming. Show all posts

Saturday, December 19, 2015

Soon Kueh


From young, I have always love eating kuehs. Koo chai kueh, peng kueh, soon kueh, you name it, I love it. Is it due to my dialect influence? Not sure though, but I do know I grew up eating lots of kuehs.

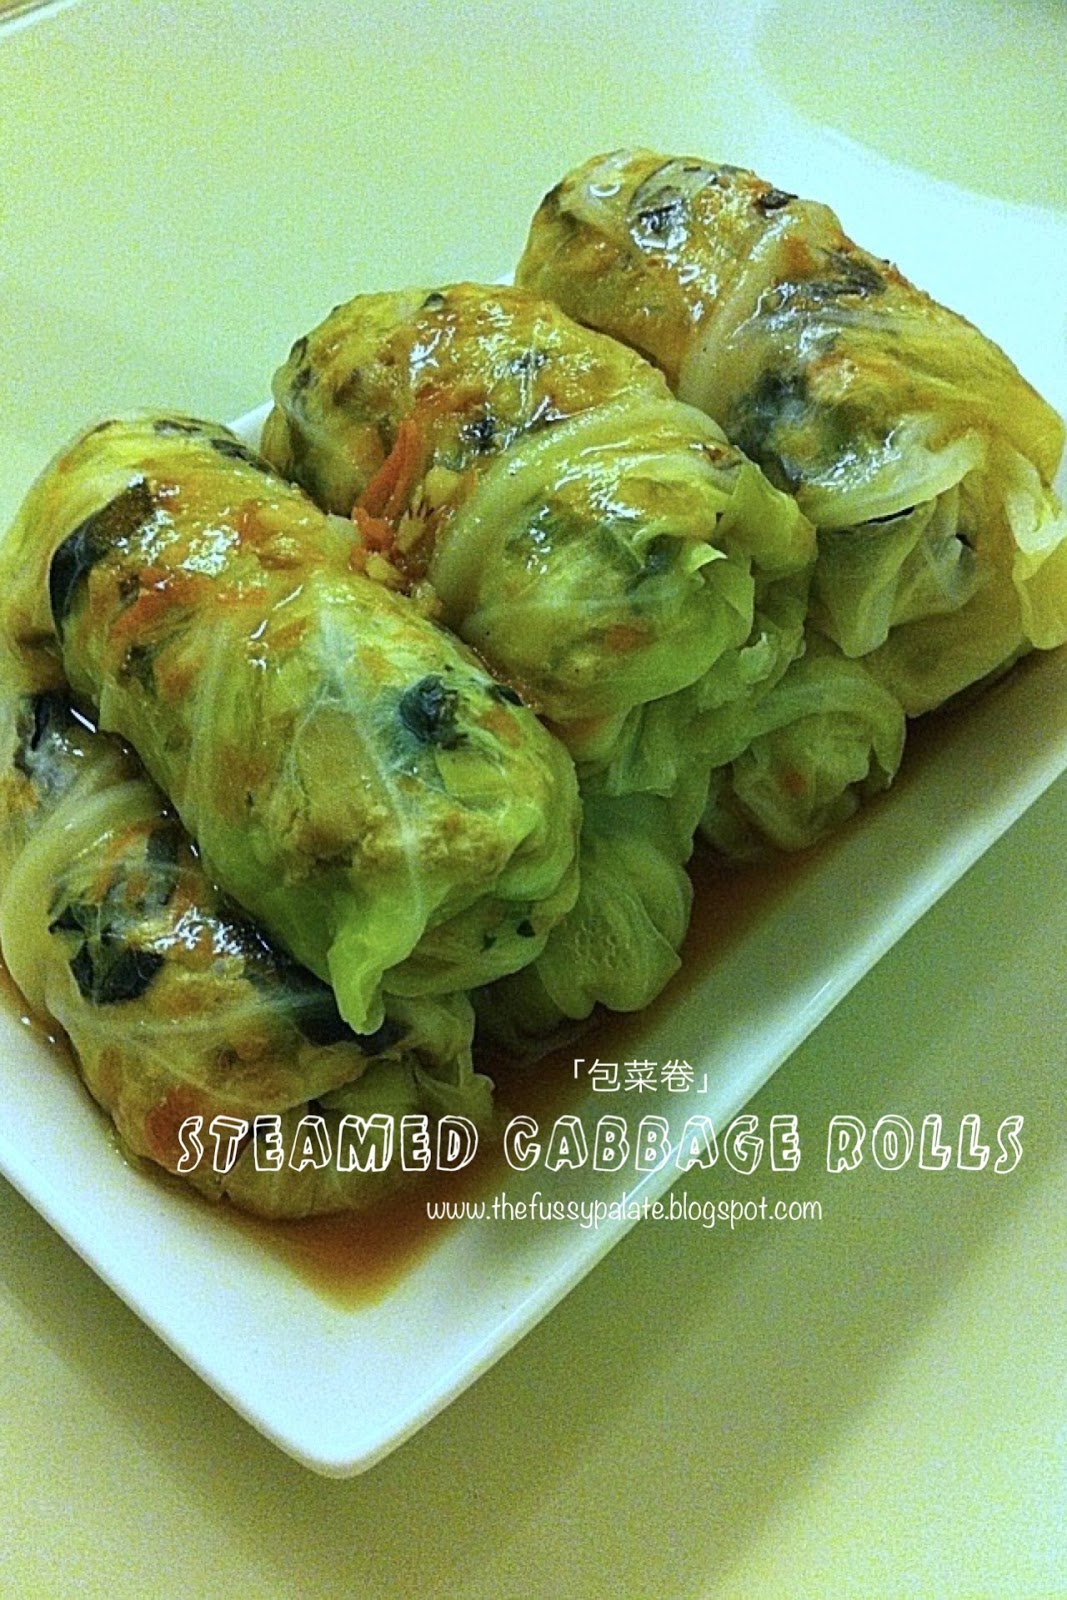
Drizzle sweet black sauce (and some sambal chilli if you have them) over the steamed hot soon kueh and enjoy!

My grandmother used to make the kuehs for us all and we have them for breakfast. Later stage my Mum learned the skills of kueh making and then made them.  Somehow, this is like a passing baton. Now I make kuehs too.


I was lazy gathering all different flours (rice flour, sago flour etc) for these soon kuehs , and so I took the easy way out - get a pack of ready mix soon kueh flour!

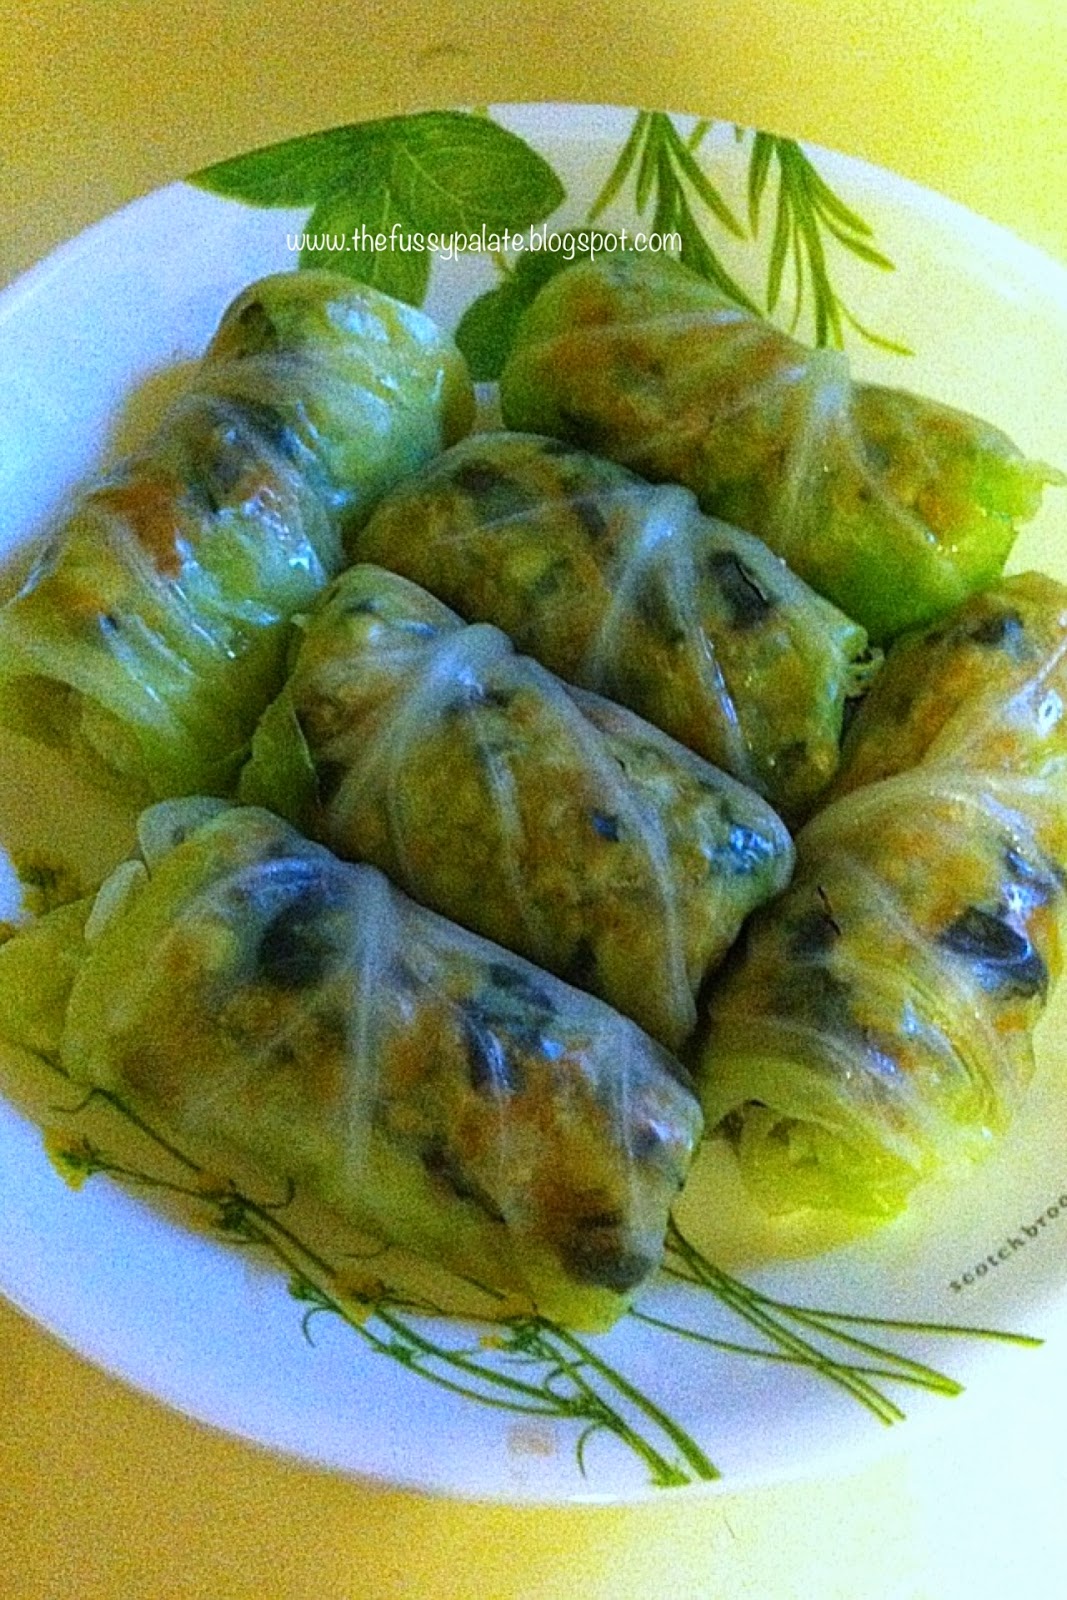
Maiden attempt in making soon kuehs and it turned out not too bad. Hubby tried and enjoyed it. Mum feedbacked that filling would taste better with dried mushrooms added, otherwise all is okay being a first try.  Practice makes perfect and I'll definitely make them again because Hubby and I love eating soon kuehs!

Soon Kueh

Soon Kueh skin
I used Skytime brand Soon Kueh flour (400g a pack)
Reserving about 30g to 50g of Soon Kueh flour for dusting
 Add adequate amount of boiling water to mix flour together (using a spatula or a pair of chopstick). Knead dough till pliable and smooth. Divide dough into 32g portions and roll them into balls.


To wrap, flatten and roll out each 32g ball dough into circular skin of about 2mm thick. Spoon 1 tbsp of filling onto centre of soon kueh skin and bring centre of soon kueh skin together, then press both sides of skin to seal gaps. Set on light greased pan. Repeat the same till skin or filling is used up.  Allow about 1 inch of space in between each soon kueh.


Put steamer to boil.  Before setting soon kueh to steam, brush top of kueh with oil. Put to steam for 10min on medium high heat.

Drizzle soon kueh with sweet dark sauce and chilli and serve.


To store, allow steamed soon kueh to cool completely then place into airtight containers and refrigerate (you can line baking paper in between to prevent sticking). If you are not able to consume it within 3 days, freeze soon kueh and re-steam it when needed.


Soon Kueh Fillings
(Recipe by Mrs Leong Yee Soo of Everyday Favourites) - I doubled the amount for fillings

455g jicama (bangkuang)
3 tbsp oil
1 tbsp minced garlic (I used 10 garlic)
1 tbsp yellow bean paste (taucheo) (I kept to just 1 tbsp with the doubled filling portion)
1 tsp sugar
1/2 tsp MSG (Optional - I did not use this)
1/2 tsp salt
115ml water (I used the water from soaking dried shrimps, top up with tap water till the desired amount if not sufficient)
55g dried shrimps (rinsed, soaked, drained and roughly chopped)
170g prawn (Optional - I did not use this)
I added 1 tsp of pepper and 3 tbsp fried shallots to enhance the taste of the filling.


1. Peel and slice jicama into thin strips, immerse in water and drain.
2. Heat oil in a pan and fry garlic until light brown. Add yellow bean paste,sugar, MSG if using) and salt and fry for a moment.


3. Add the water, dried shrimps and prawns (if using) and bring to a boil.


4. Add the jicama, stir and cook over moderate heat until almost dry.  Stir in pepper and fried shallots till well mixed. Set aside to cool before use.

Wednesday, October 7, 2015

Cocoa Mantou

I love mantou.

Ever since I got myself a book on mantou and started making my own mantou, I said N-O No to supermarket frozen mantou. 


Knowing what goes into my food is very important to me these days. Not comfy with the idea of preservatives in my food and so I am a strong believer of almost all food homecooked, homemade and homebaked.


Got myself busy with these mantou and woo! I wished I had made more of them. They were so soft and fluffy with a tinge of cocoa fragrance in them. These fluffy little buns definitely ignited my mantou making flame once again. 


What mantou should I make next?  :P


Cocoa Mantou

5g Instant yeast
183g fresh milk
35g caster sugar
340g Hong Kong flour
20g unsweetened cocoa powder
5g butter (room temp)


1. Mix caster sugar with 3/4 of fresh milk (137g) and stir well to dissolve sugar. Sprinkle instant yeast over remaining 46g of fresh milk and let it sit for about 2 minutes before stirring them to dissolve yeast. 
2. Sift Hong Kong flour and cocoa powder. Place all dry ingredients into a mixing bowl, pour in the wet ingredients and mix well to form a rough dough. Knead dough till smooth and shiny.
3. Place kneaded dough in mixing bowl and cover with clingwrap to let proof for 10 minutes.
3. Do a quick knead on the dough to remove the air then using a rolling pin, roll out dough to form an even rectangular shape with even thickness of 0.5cm and 70cm in length.
4. Trim off sides of dough to get a nicer rectangular shape and carefully roll up dough like rolling swiss roll. About 1cm at the end of the dough, brush on some water and gently press down dough to flatten it a little. 
5.  Using a sharp knife, slice rolled up dough into 10 equal pieces. (For me, I got 8 pcs, and with the trimmed dough I divided it into 2 long portions and made them into knotted patterned mantou)
6. Place baking paper under dough and leave dough in steamer to proof for 20 minutes.


Let proof for 20min

Put to steam.


There you are. Home made mantou.

7. Steam mantou on medium high heat for 8 minutes. Make sure water is boiling before placing in mantou. Place lid cover sideway for about 1 minute. Remove steamer with lid covered slideways away from stove and let cool for further 2 minutes or so to cool - this is done to prevent mantou skin from crinkling up with the sudden temperature change. Serve warm!


To freeze - Allow mantou to cool and then place in ziplock bag, press out air, zip and freeze.


No need to defrost mantou before steaming. Just set your steamer to boil and place in mantou to steam on medium high heat for 7min. 

Monday, September 21, 2015

Steamed Cod Fish with Minced Garlic

I love to eat fish cooked this way. I love garlic and love how it covers the fishy smell. A simple and easy way to have the fish prepped, cooked and eaten in no time!


Steamed Cod Fish with Minced Garlic

1 sliced of cod fish (roughly 250g)
garlic puree (I used minced garlic instead, from 4 garlic pcs)
10g spring onion (I used 2 pcs of spring onions, cut them thinly sideways and placed them in water with some ice cubes for 30min, the spring onions will curl to form some garnishings)


Seasonings
1 tbsp Oyster sauce
3 tsp water
1 tsp caster sugar

1. Put steamer to boil on high heat.
2. Combine oyster sauce, water and sugar in a bowl and mix well.


3. Wash cod fish and dry with a kitchen towel, then place on a plate for steaming.
4. Spoon minced garlic over cod fish and drizzle seasoning sauce over. Top with spring onion curls.
5. Place cod fish to steam for 7 min on high heat ot till cooked. Serve immediately.


Saturday, July 25, 2015

Cod Fish with Ginger-Garlic Sauce


A simple and delish cod fish dish that requires no effort at all.  Steam the fish, prep the sauce, drizzle the sauce onto the fish and voila! a dish is cooked and done!

The big box sale by Marshall Cavendish some 2 months back or so got me crazy and I lugged back a huge amount of recipe books, and I have got no reasons to not try out recipes from the stack of books lying in my study room. So yeah, start of the recipe book cooking from now.


Cod Fish with Ginger-Garlic Sauce

Recipe adapted from the asian oven book by Jo Marion Seow

*Original recipe snapper fillet but I replaced it with cod fish

1 thumb-size knob ginger
2 large garlic cloves, peeled
1, spring onion (scallion), diced
2 tbsp cooking oil (I used 1.5 tbsp)
2 tbsp light soy sauce (I used 1.5 tbsp)
4 Snapper fillets, about 150g each (I used 1 cod fish fillet, roughly 300g)


1. Scrape the skin off the ginger using a spoon. The rounded edge of the spoon is able to navigate the curved surfaces of the ginger and remove just the skin.
2. Finely grate the ginger and the garlic.  Put the grated ingredients and spring onion into a small bowl. 


3. Heat oil in a small saucepan until it is smoking hot.  Pour the oil onto the ingredients in the bowl and give everything a stir.  Now add light soy sauce and stir to combine.  The sauce is done.
4. Preheat the oven to 200deg C.  (I put the cod fish to steam instead of baking it)
5. Place fish in a casserole dish.  Cover tightly with foil and bake for 6-8min.  (Put a steamer to boil, place cod fish on a steam plate and put to steam for about 8min, or till done.)
6.. Remove the cooked fish from the oven.  Discard the foil.   


7. Spoon the ginger-garlic sauce over the steamed cod fish and serve immediately.

Note:
I did not add the diced spring onions with the ginger-garlic.
I sliced the spring onions sideways, thinly and about 2-inches long and placed them into a bowl of iced water.  Let it stay in for about 45min and the spring onions will curl.
Remove spring onions and drip off remaining water.  Spring onion garnish is ready for use!

Thursday, January 8, 2015

Steamed Cabbage Roll

Have you all tried steamed cabbage roll? Try it if you all haven't, will you?


I have procrastinated for the longest time on trying out this recipe. I finally tried! And I love it. And why did I sit on it for that long? Simply because I did not want to go through the blanching of cabbage leaf part and then having to wrap the stir-fried fillings in the cabbage leave before finally steaming them to eat. I did not want to go through such a trouble. Oh well, in the end, I caved in. So here is it.  I got down to do and quite enjoy it. Seriously, I will cook this again because it was a yummy dish.

Steamed Cabbage Rolls
Recipe by Andrew Kow of One Day One Dish | 365 Selected Home-Cooked Recipes

1 cabbage
150g minced pork
1 carrot (peeled)
5 pcs black fungus
8 water chestnuts (peeled)
150g celery (I left this out and used 3 pcs of chinese mushrooms instead - minced)

Seasonings
1 tbsp light soy sauce
1 tsp salt
1 tsp pepper
1 tsp sesame oil
2 tsp chicken seasoning powder (I left this out and added 1/2 tbsp chinese cooking wine)

1. Shred carrot, black fungus, water chestnuts and celery. (I cut water chestnuts and soaked chinese mushrooms into cubes instead)


2. Boil 1/2 pot of water, cook whole cabbage in boiling water till soft, remove and drain. Gently pluck off each cabbage leaf. (I plucked off each leaf and washed them, then blanched a few pcs of cabbage leaves at a time. I did not cook whole cabbage in water for fear of tearing them apart when plucking them as the leaves would be too delicate for me to handle)


3. Heat up oil in pot, add in ingredients (except cabbage), and seasonings, and stir-fry till fragrant.  Remove amd drain,  reserve sauce for use later.


4. Place the mixture on a cabbage leaf, and roll it up.  Repeat for other cabbage leaves. Place cabbage rolls on a steaming tray and steam for 10-15 minutes.


5. Mix some tapioca flour with water to thicken the reserved sauce. Pour it over the steamed cabbage rolls.


Tuesday, December 2, 2014

Brown Bear Mantou


I am kinda hooked on making mantou nowadays that I have put a temporary stop to bread making.  Seems like. Nah, I will get back to making bread soon I guess. Hubby will get sick of eating my cute creations too hahha!


Mantou. They are often being referred to as Chinese steamed bun or bread. They are so easy to do and somehow gives me a gratifying feel more so than bread. Not sure why too but I guess it is because I can make them and keep them away in the freezer, put them to steam and eat them rightaway when they are at their softest taste.

I took a pic of this along with some X'mas deco to give it some Christmasy feel.

This time, I made a dozen of cute brown bear mantou using 彭秋婷的创意受1作中式发面 book. I definitely had fun making them! Best of all, you need not have to own an oven to make these.  If you are in for some cute bun making, this should be it :)

Again, I did a simple translation of the original recipe by 彭秋婷

Brown Bear Mantou
Servings: 90g × 12 pcs

A. Dough
7g Instant yeast
270g fresh milk
50g caster sugar
500g plain flour
10g butter
24g cocoa powder

B. Dough
50g flour
5g caster sugar
1g yeast
25g water

1. Mix caster sugar with 3/4 of fresh milk and stir well to dissolve sugar. Mix instant yeast with remaining 1/4 fresh milk. Place all other dry ingredients in A into a mixing bowl, pour in the wet ingredients and mix well to form a rough dough. Knead dough till smooth and shiny. In a separate bowl, put all B ingredients and mix well to form a dough. Set aside.
2. Place kneaded dough in mixing bowl and cover with clingwrap or moist cloth to let proof for 5 to 10 minutes.
3. Roll put main door to rid air bubbles and roll till 1cm thick, and 40cm in length.
4. Cut rolled main dough into 12 equal pieces, about 80g each. Out of each 80g dough, I cut out 2 pcs of 6g dough for the bears' ears (68g will be used for bears' heads). Cut 10g of dough from B dough and add in charcoal powder to make bears' eyes and noses, while remain B white dough will be used for bears' mouths.


5. Roll bears' head into a round shape, place them on cut out baking paper and slightly flatten dough.
Shape bears' ears (6g dough) and stick it into bears' head - I used a chopstick to shape ears and stick it into bears' head.
Divide white dough into 12 pieces, flatten each piece of white dough into an oval shape and adhere it on bears' face. You can brush on some water and place on dough for them to 'stick' better. Place on eyes and noses.
6. Place all deco brown bear mantou into steamer and let proof for 20 to 30 minutes.


7. Steam mantou on medium high heat for 8 minutes. Make sure water is boiling before placing in mantou. Place lid cover sideway for about 1 minute. Remove steamer with lid covered slideways away from stove and let cool for further 2 minutes or so to cool - this is done to prevent mantou skin from crinkling up with the sudden temperature change. Serve warm!


After the steamed mantou have cooled, I packed them into a ziplock bag and freeze them. Put the mantou to steam rightaway without the need to defrost them and you can enjoy piping hot buns with a good cuppa coffee in no time!

熊大创意馒头
(Recipe by 彭秋婷的创意手作中式發面)

分量  90g x 12个 

A   面团
速溶酵母 --- 7g
鲜奶 --- 270g
细砂糖 --- 50g
中筋面粉 --- 500g
奶油 --- 10g
可可粉 --- 24g

B   面团
中筋面粉 --- 50g
细砂糖 --- 5g
酵母 --- 1g
水1 --- 25g

1   搅拌 
a 先将细砂糖与配方中 3/4 的鲜奶充分搅拌均匀, 酵母与配方中 1/4 的鲜奶拌均匀, 将其他材料 A 放入盆中, 再倒入液状材料揉至呈光滑面团。
b 另将面团材料B 全部搅拌均匀备用。

2   松弛
盖上湿布或保鲜膜, 让面团基本发酵 5-10 分钟。

3   延压
取出面团用杆面棍或压面机将面团气泡压出,成厚约1cm约40cm的长条状光滑面皮。

4  分割
A 面团分割80g 12个,B面团切取10g 加入竹灰粉做眼睛,其予白面团做嘴巴。

5   整形
a 面团整形成圆的馒头形状再压扁执上烘焙纸。
b 在头部1压出耳朵位置,用 A 面团以圆的花嘴模压出耳朵,一端捏尖后压扁以工具按压固定在脸部。
c 鼻子用白面团整形后固定在脸部,以竹灰粉面团整形出眼睛及鼻上装饰固定好。

6  发酵
间隔排入蒸笼層中,最后发酵 20-30 分钟。

6   蒸製
移入热水蒸锅, 以大火蒸 12 分钟,时间到后将蓋子打开一个小缝 1 分钟, 移出蒸锅再放置 2 分钟后掀蓋。

Tuesday, November 18, 2014

Dual Tone Butterfly Mantou

With the few new recipe books that I have on hand, I am kept busy reading and going through them. There are just so many recipes that I wanna try my hands on, and one of them is this dual-colour butterfly mantou which I came across in the Chinese style bun recipe book my colleague help buy for me from her Taiwan holiday.


I must say that I was not disappointed at all with this recipe.  The mantou were good. They were soft and fluffy.  No need for us to buy mantou anymore!  It was my first time at making mantou and I was abit jittery about it.  Hmm, but my worries were unfounded. It was a breeze making these butterfly shaped darlings. It was way easier than bread making, plus the time to prepare and steam it was all done under 80 minute. More mantou making soon!

Will provide step by step photo tutorial next round. Was rushing to finish making them and leave for an appointment.


雙色蝴蝶捲
(Recipe by 彭秋婷的创意手作中式發面)

分量  60g x 12个 

A   面团
速溶酵母 --- 7g
鲜奶 --- 260g
细砂糖 --- 50g
中筋面粉 --- 500g
奶油 --- 10g

B   红麹粉 --- 2g (我用可可粉)

1   搅拌 
先将细砂糖与配方中 3/4 的鲜奶充分搅拌均匀, 酵母与配方中 1/4 的鲜奶拌均匀, 将其他材料 A 放入盆中, 再倒入液状材料揉至呈光滑面团。

2   松弛
盖上湿布或保鲜膜, 让面团基本发酵 5-10 分钟。

3   延压
面团分成两等份,一份面团再加入红麹粉揉至光滑,两分钟面团分别擀成相同大小的长条形。

4   整形
a   将两份面皮用水重叠组合,修整四边,再将面皮由长向密实捲起, 在距离收口 1cm 处刷上水,固定好。
b   用刀切取约 1cm 长度, 在两两背面相对, 用筷子夹住成蝴蝶形状, 并捏出蝴蝶翅膀造型。

5   发酵
执上烘焙纸,间隔排入蒸笼層中,最后发酵 20-30 分钟。

6   蒸製
移入热水蒸锅, 以中火蒸 8 分钟,时间到后将蓋子打开一个小缝 1 分钟, 移出蒸锅再放置 2 分钟后掀蓋。

Below is the English version which I tried to translate to the best of my ability :)

Dual Tone Butterfly Mantou 雙色蝴蝶捲
Servings: 60g × 12 pcs

A. Dough
7g Instant yeast
260g fresh milk
50g caster sugar
500g plain flour
10g butter

B. 2g red yeast powder (I used cocoa powder)

1. Mix caster sugar with 3/4 of fresh milk (195g) and stir well to dissolve sugar. Sprinkle instant yeast over remaining 65g of fresh milk and let it sit for about 2 minutes before stiring them to dissolve yeast. Place all other dry ingredients in A into a mixing bowl, pour in the wet in ingredients and mix well to form a rough dough. Knead dough till smooth and shiny.
2. Place kneaded dough in mixing bowl and cover with clingwrap to let proof for 5 to 10 minutes.
3. Divide dough into 2 equal portions. Knead red yeast powder (or cocoa powder) into 1 portion of dough till colour is even and dough is smooth and shiny. Roll out 2 of the dough till flat and almost even size.
4. a) Brush water on 1 side of each flattened dough and place 1 dough of top of the other. Trim off sides of layered dough to get a rectangular shape and carefully roll up layered dough like rolling swiss roll. About 1cm at the end of the dough, brush on some water and gently press down dough to flatten it a little. Leave a tip of the end unrolled.
b) Using a sharp knife, make precise cuts of about 1cm each. Place 2 pieces of cut dough together, sides of the dough with unrolled end facing each other. Place 2 chopsticks by the sides of the dough and press in chopsticks to meet (to form wings of butterfly). Repeat the same for the rest of the cut dough.
5. Place baking paper under dough and leave dough in steamer to proof for 20 to 30 minutes.

See how my "butterflies" grew!

6. Steam mantou on medium high heat for 8 minutes. Make sure water is boiling before placing in mantou. Place lid cover sideway for about 1 minute. Remove steamer with lid covered slideways away from stove and let cool for further 2 minutes or so to cool - this is done to prevent mantou skin from crinkling up with the sudden temperature change. Serve warm!

Mantou steaming in progress!


To store, place cool mantou in ziplock bag and keep in freezer. Put mantou to steam again and it will turn soft and fluffy to eat again.

The leftover dough which I trimmed out were not wasted. I twirled the dough and twisted them to form different shaped mantou.