With the number of potato dishes popping up here, you might think I am crazy about anything potatoes now yeah? But no I am not. Back dated posts all these are and I am rushing to get them out of the drafts.
I like how potatoes fit well being the main dish (think Shepherd's Pie!), and also makes good alternative as sides to main dishes.
Gotta say that this is a super easy dish to do as no peeling of the potato skin is required! All you need to do is to scrub the potato skins clean, dap dry with kitchen towel, slice them three quarter way down like how you would do to hasselback potatoes, brush on the oil & herb mixture, and off to the oven they go! Easy? They taste yummy too. Make these to impress your guests if you have them over to your place :) Made these for Mummy when she came to my place to accompany me when hubby was out on biz trip. Glad Mummy enjoyed it :)

Lemon Herb Roasted Potatoes
Recipe by Rasa Malaysia
Serve 3
Ingredients
1 pounds baby potatoes
Oil Mixture
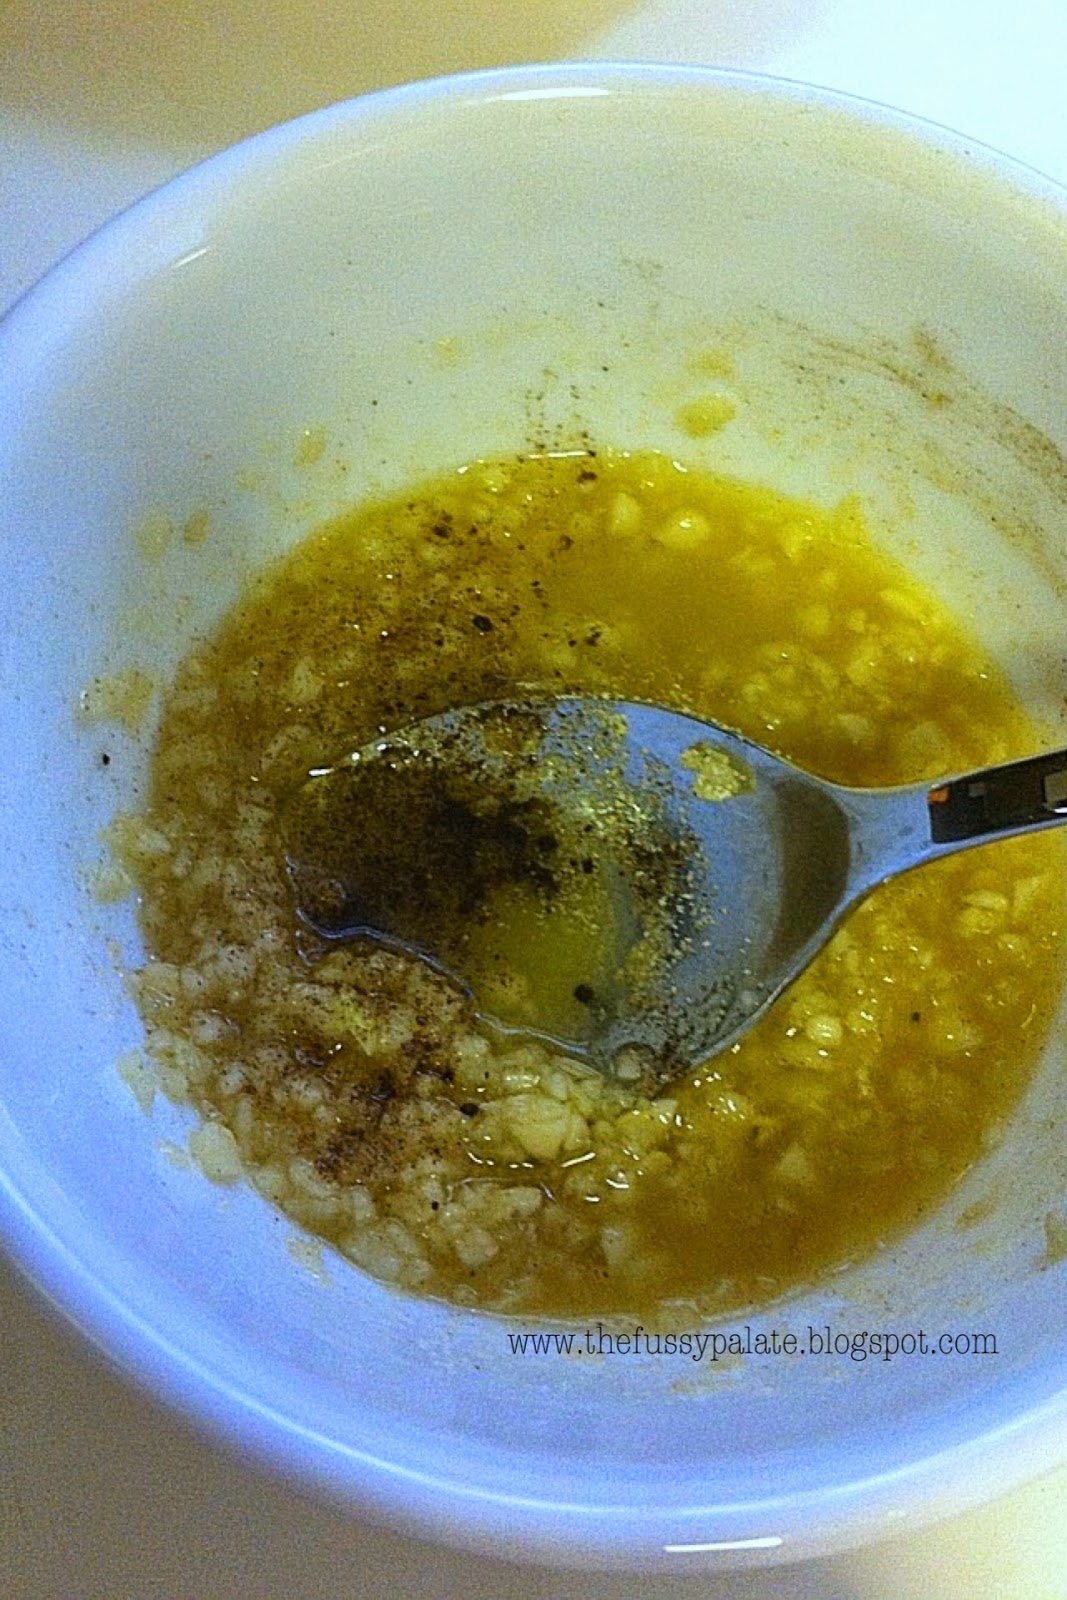
1/4 cup olive oil
2 tablespoons melted butter
3 cloves garlic, minced
1 tablespoon chopped Italian parsley leaves
1 tablespoon lemon juice
1 tablespoon honey
Scant 1/4 teaspoon salt
3 dashes ground black pepper
2 tablespoons melted butter
3 cloves garlic, minced
1 tablespoon chopped Italian parsley leaves
1 tablespoon lemon juice
1 tablespoon honey
Scant 1/4 teaspoon salt
3 dashes ground black pepper
Preheat oven to 350F. Cut slits on the potatoes, do not cut through. Mix all ingredients in the Oil Mixture together.
Place the potatoes in a roasting pan and brush with the Oil Mixture. Make sure to brush inside the slits of the potatoes. Save some for basting.
Roast the potato for 1 hour, basting the oil mixture at 30 minute interval using the remaining Oil Mixture. Serve immediately after roasting.