Singapore is a food paradise and there are just so many local delights to eat and try here. Hainanese chicken rice, char kway tiao, Laksa, Wanton Mee and so many more that are yummy.
Hubby loves eating Wanton Mee. Since I have tried my hands at making my own cha siew the last round (and it wasn't all too bad for a 1st timer!), I thought why not make cha siew again, then wrap some wantons and... cook Wanton Mee for dinner, for him - my hubby :)
I used the same cha siew meat recipe that Mum has always used. This time round I added some maple syrup to the marinate so that the meat could be sweeter (which I like!), hehe~
I was a tad lazy to make my own wanton skins, so I bought ready-made ones from the supermart.
It was my first time making wanton. I have seen my Mum make them before and had tried helping her with the wrapping part, so it was not all too difficult. Afterall, with the wide amount of info we can get from the internet and with youtube, anyone can more or less self-learn cooking and baking easily.
Anyway... long post ahead. Beware.
Airfried Cha Siew
(Improved version)
150g pork butt (shoulder)
1/2 tbsp soya sauce
1 tbsp cha siew sauce
1 tbsp maple syrup (you can use honey too)
1/2 tbsp sesame oil
3 pcs garlic
A pinch of red food colouring (optional)
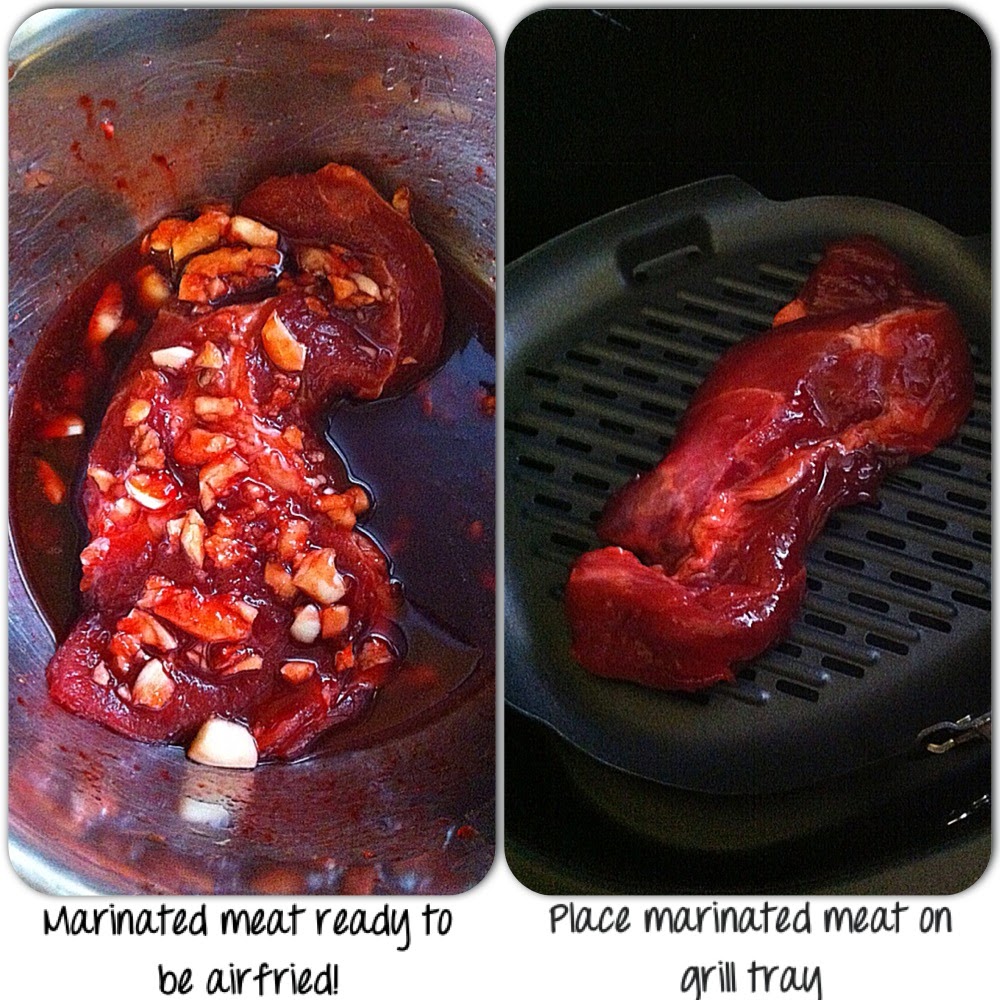
1. Mix all ingredients (except the meat) together and test taste to see if it is of your desired sweetness. Place in meat and coat well and let it season for 2 hours, or overnight, if possible.
2. Preheat airfryer at 200deg for 5 min.
3. Place marinated meat on baking tray and airfry 5 min. Brush meat with sauce on both sides and continue letting it be airfried for another 5 min.
4. Brush sauce on both sides, reduce temperature to 180deg and airfry for about 15 min until charred at some areas. Same thing, brush sauce and flip at every 5 min interval till done.
5. Remove cha siew and slice when slightly cooled.
Wanton Soup
Filling
* 300g minced meat
* 4 pcs of water chestnuts (de-skin and minced)
* 3/4 tbsp of minced dried sole fish
* 3 tbsp sliced spring onions
1 packet wanton skin wrap
Marinate
1 tsp sesame oil
1.5 to 2 tbsp soy sauce (I use premium grade soy sauce by Kwong Cheong Thye and the soy sauce tastes salty sweet)
1/4 tsp pepper
1/2 tbsp Shaoxing / hua diao wine
1/2 tbsp cornstarch
Soup base
1 small handful of anchovies (remove head, wash 2x and drain)
1 carrot (de-skin)
1 onion (de-skin, wash and leave as whole)
1200ml water
1/2 pcs of dried sole fish
1 bunch of choy sum vegetables (or any type of vegetable of your choice)
Salt to taste (after soup has been cooked)
Finely chopped spring onions (for garnishing - optional)
1/2 tbsp fried sliced onions (for garnishing - optional)
1. Combine all filling ingredients with * asterisk in a bowl.
2. Add in all marinate ingredients into meat mixture.
3. Mix meat mixture with a fork/ a pair of chopstick/ spatula till well mixed.
4. Cover with clingwrap and leave in fridge for 2 hours to 4 hours.
5. Meanwhile, cook the soup base. Place all soup base ingredients and water into a pot and bring to boil.
6. Lower fire and let soup simmer for further 45min.
7. Turn off fire and leave till ready to be used. Remove all soup base ingredients.
8. When ready to wrap wanton, gently tear off each piece of wanton skins and leave on a clean dry plate (with each wanton skin stacked on each other).
9. Prepare some water in a small saucer (for dapping around wanton skin to help stick the skin together)
10. Place a piece of wanton skin onto the palm and scoop a teaspoon heap of marinated filling on centre of skin.
11. Dip a finger with some water and dap it around half side of skin.
12. Bring the skin together to form a triangle shape, then bring 2 ends of the triangle to meet the centre with the help of some dab of water.
13. Apply slight pressure to to crumple up the excess skin, forming a rounded "bottom" (fillings portion). Repeat the same for the remaining wanton. Keep in airtight container.
14. Bring the pot of soup base to boil (add choy sum and cook, then add salt to taste), and at the same time, bring a small pot of water (for blanching of dumplings) to boil.
15. Add a few drops sesame oil/ cooking oil to the boiling water (for blanching).
16. Lower heat to medium, gently put in required amount of wanton into water and let it cook. It will float when done, then leave for about 20 seconds more before scooping it up with a sieve.
17. Put wanton into bowl and scoop soup and choy sum over wanton.
18. Garnish with spring onions and fried onions. Serve on its own or with wanton mee.
Wanton Mee
Sauce for each place of noodles
1 tbsp fried shallot oil or sesame oil
1 tsp soy sauce
1 tsp oyster sauce
1 tsp sambal chilli sauce
1 tsp tomato ketchup (optional)
1 tbsp of soup base (if preferred)
1 small pack of egg noodles
Water
1. Put a small pot of water to boil (for blanching of the egg noodles).
2. While waiting for the water to boil, prepare the sauce for each plate of wanton mee. Mix well.
3. When water comes to a boil, put in loosen bunch of egg noodles and cook till al-dente.
4. Place blanched noodles into a bowl of room temperature water with strainer and do a quick blanch back at the boil water for 3 seconds, strain well and place noodles on the plate with sauce.
5. Place some pieces of wanton, sliced cha siew and choy sum on top of egg noodles and serve immediately accompanied with soup and some green chillies.