
It was Mama's birthday last Friday. We had an early birthday celebration with Mum some 2 weeks back, done together with Mothers' Day celebration. No we are not saving on an extra meal. Mum has to go for an operation end of this month and we wanted her to steer clear from heaty food to prep for the operation, hence the combi of 1 dinner for 2 occasions.

Cake ready to be delivered to the birthday girl!
I love old-fashioned birthday cakes, you know, those kind of salty buttercream cakes sold during the 1970s to 1980s? You can only find these cakes in those traditional bakeries now.
Got the cake design idea from Nasi Lemak Lover. Family said the cake looked nice when it was presented to my Mum. Of course, my dearest Mother was all smiles. It was worth my every effort making this into the late night a night before.

I was happy to see the distinct layers when the cake was sliced after the usual birthday song singing and making of wish.
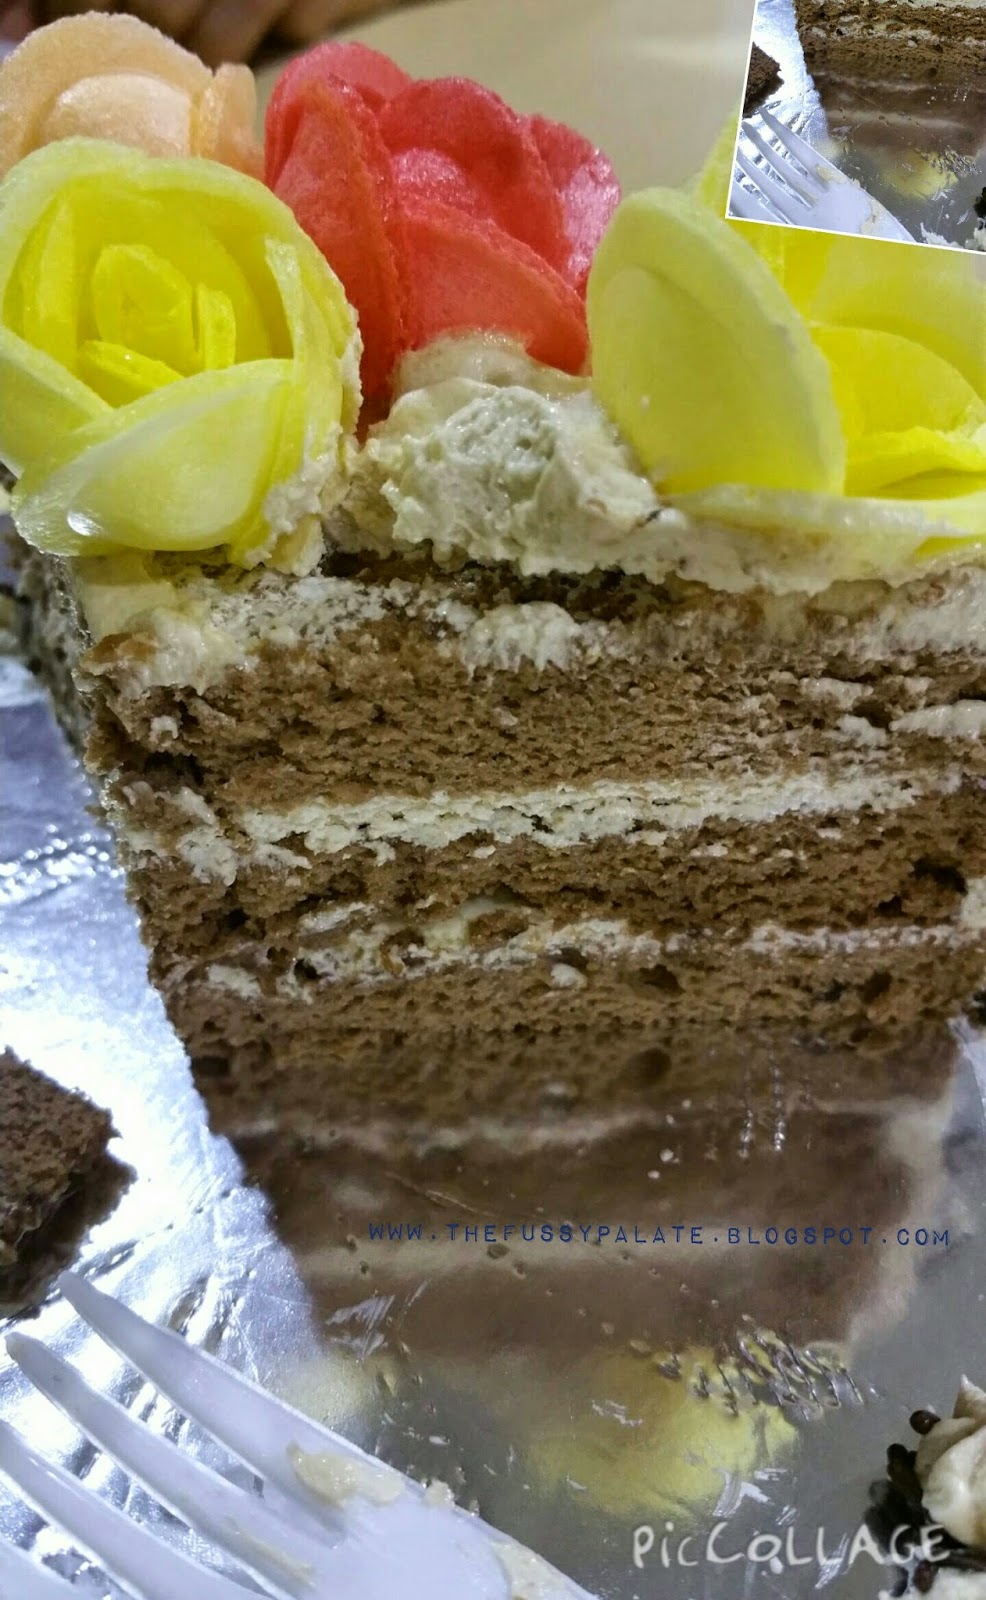

3 nice layers of soft chocolate sponge with coffee cream
I am a happy girl.
I am getting more confident in making buttercream cakes. Looking forward to making one for myself next month!

Coffee Cream Cake
makes a 6-inch cake
3 egg yolks
55g cake flour
1/4 tsp baking powder
40g caster sugar
30ml canola oil
35ml milk
a pinch of salt
3 egg whites
1/4 cream of tartar
5g cocoa powder
Chocolate rice (for deco on the side of cake)
Cake Method
1. Preheat oven to 150deg C.
2. Sift cake flour, baking powder and cocoa powder and leave aside.
3. Beat yolk and 1/2 tbsp sugar till sugar has dissolved and yolk mixture has turned pale.
4. Add salt and beat well before adding canola oil in 2 additions. Make sure yolk mixture is well beaten between each addition.
5. Add in milk in 2 additions and mix well before placing in sifted cocoa flour mixture. Use a spatula and mix well till batter turns thick and creamy. Set aside.
6. In a separate bowl, beat egg whites till frothy. Add in cream of tartar and continue to beat till soft peaks form, add in remaining caster sugar in 3 additions and beat till stiff peaks are formed.

7. Spoon half of white mixture into cocoa batter and fold in till well mixed. Repeat the process with remaining white mixture in 2 additions.
8. Pour folded in batter into 6-inch baking tin and drop it on a table top twice to remove excess air bubbles.
9. Place baking tin in oven to bake at 150deg for 60 min or till done.
10. Remove from oven and place it overturned on a cooling rack to cool. Prepare coffee buttercream frosting. (Refer to directions below.)
11. Slice a little of the uneven cake top if top is domed shape, then slice cake to get 3 even pieces for layering.
12. Place a slice of the cake on a cake board and set it on a turntable, slap on some coffee buttercream and spread it evenly. Place the other cake on top of buttercream.
13. Crumb coat whole cake with a thin layer of buttercream to seal in cake crumbs so they will not get in the way during final coating, you may freeze crumb coated cake for about 15min before doing final thick coating.

14. Layer an even coat round sides of cake. Spoon chocolate rice on to side of frosted cake.
15. Spoon remaining coffee buttercream into a piping bag with a star nozzle and pipe desired designs on the cake top. Refrigerate and enjoy.
Coffee Cream Frosting
150g butter
3g instant coffee
40g egg white
65g sugar
20g water
Place butter and instant coffee powder into mixing bowl, mix well and set aside.
Place egg white and 5g of sugar in another bowl and beat till frothy. In a pot, mix water and remaining sugar well and heat to let it thicken to slight yellow sugar water. Gradually pour in thickened sugar water into egg white mixture and continue beating till egg white turns stiff peak.
Spoon white mixture into coffee cream mixture and mix well with spatula. Coffee buttercream frosting is now ready for use.
No comments:
Post a Comment
Welcome All to my little food blog & utmost thanks for your effort in leaving me a comment. Regardless of whether or not you have tried and tested my recipes shared here, do drop me a note - I definitely would like to hear from you :)
I would appreciate if you DO NOT SPAM here. Spams will be removed upon my review.
All images and contents within this site are the sole copyright of The Fussy Palate © 2014 - 2015
No images may be reproduced or used without prior consent.