Showing posts with label Bread Machine. Show all posts

Tuesday, September 29, 2015

Espresso Coffee Bread Loaf


Sunday mornings are mostly reserved for break making to "welcome" the coming working weekdays. Can say that it is a weekly habit, a therapy for me. Of cuz there are some Sundays meant for cake baking too, when I do not feel like munching bread come weekdays.

For the past weeks, I have the crave for anything espresso and I want them in my bakes! Even my milkshakes!  Hehe... I am a coffee lover alright :)


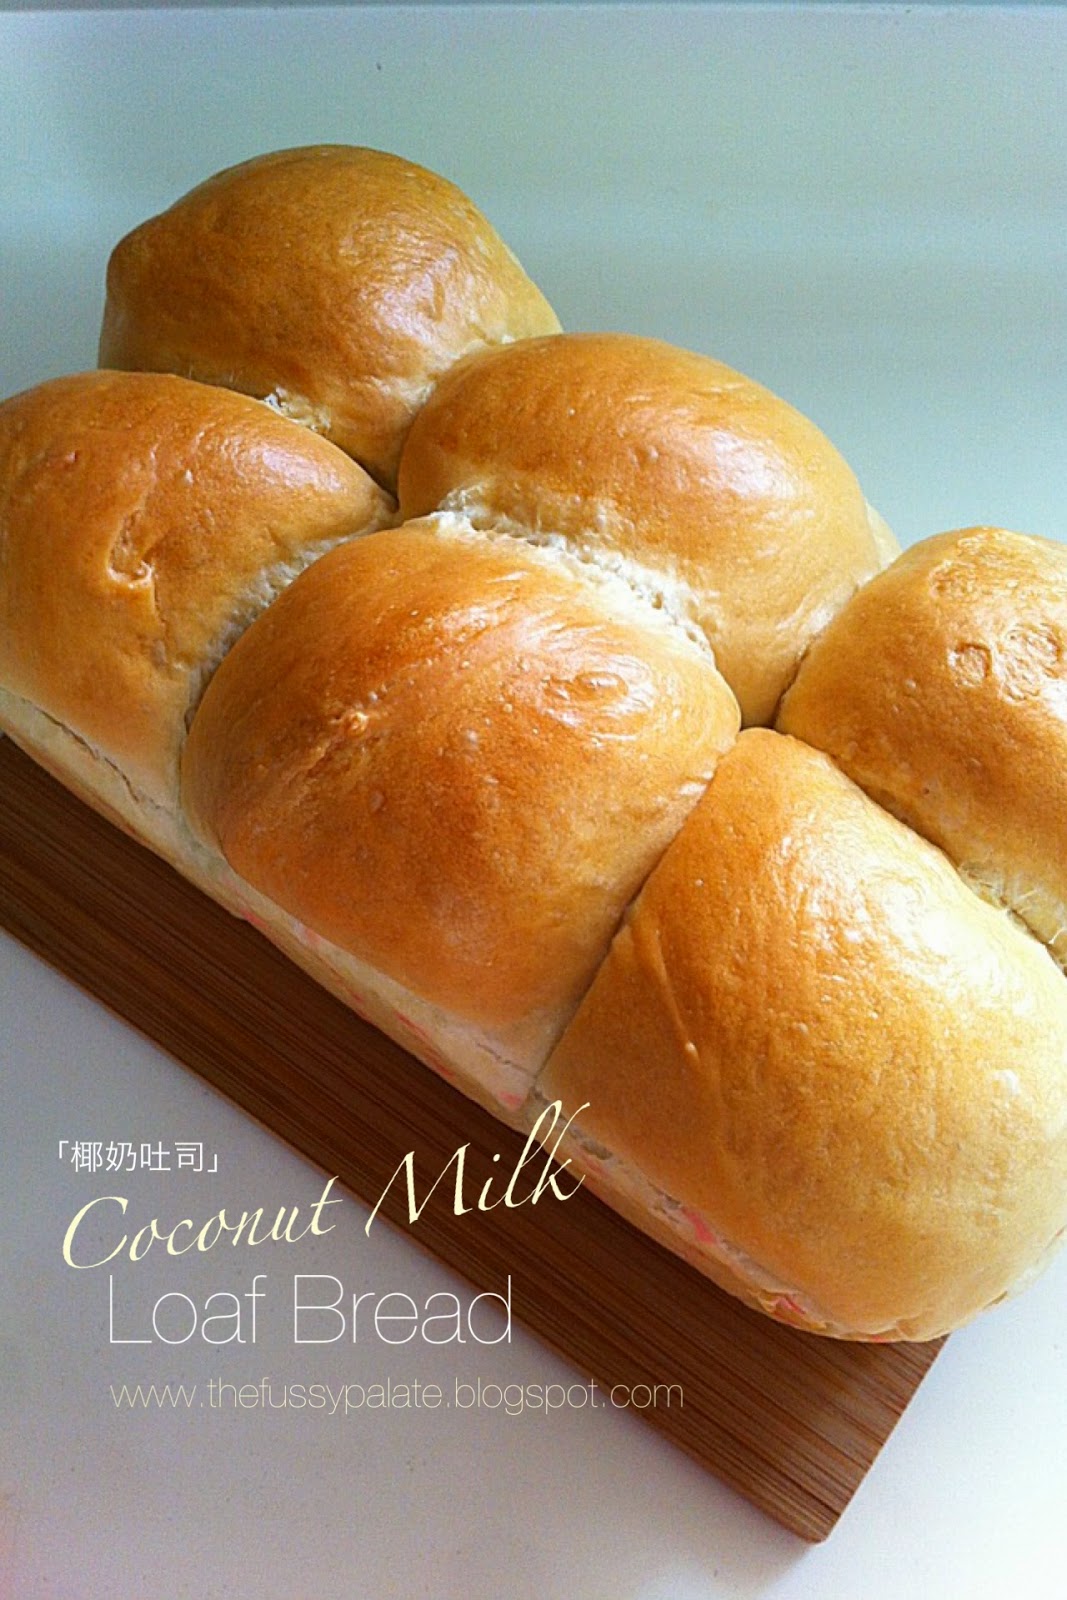
I did a bad job at trying to dislodge the bread from the loaf tin!!!


This round, I incorporated my Nespresso Espresso into my bread and had a lovely, fluffy and aromatic loaf bread.  The softness lasted for 3 days! It was good on its own, without the need for jam spreading.  Pair it with a cup of coffee and say yum :)


Espresso Coffee Bread Loaf (Pre-fermented dough method)
(makes 1 loaf)

Pre-fermented Dough
230g bread flour
1 tsp instant yeast
1/2 tsp salt
1/2 tbsp skimmed milk powder
135ml water


Dissolve yeast in water.  Add to rest of ingredients & knead until soft. Place dough in a big ziplock bag and refrigerate for at least 17 hours. The dough will expand in the bag, so make sure there is room for expansion.

Main Dough
100g bread flour
1 tbsp skimmed milk powder
1/2 tsp salt 
40g sugar 
1 small egg (lightly beaten)
40ml espresso coffee (no sugar added)
1 tsp instant yeast
30g butter (softened at room temperature)

1. Knead all main dough ingredients together (except butter), then add in pre-fermented dough piece by piece.

2. Knead as you add until the dough is soft and smooth (the dough is quite wet but should be acceptable after about 10-15 minutes of kneading) - I did the mixing of all ingredients by my bread machine.

3. Add butter and continue to knead until dough is soft, smooth and stretchable and does not stick to your fingers when pressed. - I left Step 1 to 3 to my trusty bread machine and only took over from here to knead it till window pane stage as I prefer to feel the dough and achieve windowpane stage with my own hands.  I hate mixing part as I do not like my hands getting all gooey.

4. Flour your hands before shaping dough into a ball and leave in mixing bowl.  Cover the bowl with a clean and moist tea towel cloth and let it proof for about 15-30 minutes or until double in size.

5. Punch down dough and roll dough flat into a long rectangular shape and roll dough up like swiss roll.  You may shape your dough according to your preference.

6. Grease your loaf tin with butter or oil.  Place rolled up dough in loaf tin and cover top loosely with a moist and clean tea towel cloth.  Let proof for 45 minutes or till dough has risen to 80-90% of tin. Brush top with fresh milk (room temp.).


7. Bake at 180 degree preheated oven for 25-30 minutes.  Unmould and let it cool on cooling rack.

8. Slice when cool. 

Thursday, September 3, 2015

Pandan Buns with Red Bean Paste filling


These are pull-apart buns that seems so old school to me. I think nowadays very few people enjoy eating these red bean buns since there are so many fanciful bread and buns sold outside.

With the amount of fresh pandan juice in my fridge, I thought why not make some pandan buns since we have not had it for some time. No artificial green colourings. I got a batch of nice pandan smelling buns. No guilt cuz it was made with all natural pandan juice!


Made them mini sized so that I can get more little buns.


Homemade buns can be soft and fluffy too.


I made more so I can pack and give them to my Dad and sister. Dad loves red bean buns.

Cooled, packed and ready to be delivered!


Pandan Buns with Red Bean Paste filling

A.
100g bread flour
70g boiling water

B.
300g bread flour
100g plain flour
80g sugar
5g salt
20g milk powder
8g instant yeast

C.
175g fresh pandan juice extract
(Blend 10 pandan leaves with 190g water, squeeze out juice and run through sieve to rid pandan leave bits)
55g egg

D.
60g butter, room temperature

1. Add the boiling water from A into flour, mix until well blended to form a dough. Cover and set aside to cool. Keep in refrigerator for at least 12 hours.
2. Break up A dough inti smaller pieces anf mix with B till well blended. Add in C and knead to form rough dough. OR if using bread machine, follow BM instructions by placing in all wet Ingredients first from B followed by broken up A dough, flour, milk powder, sugar and salt in opp corners, make a hole in centre of flour mixture, place in instant yeast and cover with flour, set to mix till rough dough is formed.


3. Add in D and knead to form an elastic dough OR if using BM, add in D and allow BM to mix and form smooth shiny dough. For me, I then remove it and hand knead it till it reaches the window pane elastic stage.
4. Place dough in a big mixing bowl and cover with a moist clean kitchen towel and let it proof for roughly 40min or till double its size.
5. While waiting for dough to be proofed, prepare the red bean paste filling by weighing each filling to be 20g and rolling it round, make 24 balls.
6. Punch out air from proofed dough, then divide dough into 40g each, 24 pieces. Cover and let rest for 5min for easier handling.
7. Flatten ball dough and wrap in red bean paste filling. Set it on a greased baking tray. Cover with a moist kitchen towel and set aside for 2nd round proofing for 30min.


8. Brush milk over bun tops and set to bake in a preheated oven at 175deg C for 18min or till golden brown (this is based on my Rowenta oven temp and time.).


8. Remove tray of buns and set buns to cool on a cooling rack. Store in airtight container when cooled.

Tuesday, August 4, 2015

Mini Wholemeal Hotdog Buns


I took a short 3 weeks break from bread making because I was kind of on a roll cake craze. 

Back with buns for breakfast. Wanting to clear those hotdogs lying in my freezer, I used them in my buns and made them into mini sized buns.

Love how these mini buns turned out. Soft, fluffy and cute looking. Gonna make more mini buns from now on! Plus more varieties in one batch bake too :)


Mini Wholemeal Hotdog Buns

Gelatinized dough

50g bread flour
35ml boiling water

1. Place flour in a mixing bowl.
2. Add hot boiling water and mix with wooden spoon to form a rough dough.
3. Cover bowl with cling film and leave dough to cool in the fridge for at least 1 hour, and up to 48 hours.


Basic sweet bread dough


(Yield roughly 490g dough)

150g bread flour
50g wholemeal flour
40g sugar
10g milk powder
4g instant yeast
1/4 tsp or 3g salt
87ml cold water
30g cold egg
30g butter, room temperature


7 chicken franks (hotdogs), sliced into half to make 14 pcs 

Buns


1. Tear gelatinized dough into smaller pieces into the bread machine. Add water, beaten egg and top with flour And milk powder. Place salt and sugar on opposite corners of bread machine, make a small deep hole in centre of flour and spoon in instant yeast. Gently cover yeast with some flour and set BM to work. I use Function 8 fory Kenwood BM250 for this step. 

2. When dough has come together and is more or less a smooth dough, add in softened butter. I restarted my BM on Function 8 again and let BM mix till well incorporated with dough and is smooth and soft. I then remove dough and hand knead till dough reaches window pane stage, where you get a thin translucent membrane when dough is stretched. (This more or less tells you that you will get soft and fluffy bread and buns!)

3. Shape dough into a ball, leave to proof for 40 min or until doubled. 

4. Punch down dough to rid excess air, then divide dough into 14 equal portions at 35g each and roll it round and set aside for 5 min to let it relax for easier rolling. 
Slightly shape round dough into a tear drop shape and roll it flat and long.


5. Place half a hot dog on wide side of flattened dough and roll up. Repeat for the remaining dough. Place each dough about 1.5cm apart on a greased baking tin.


6. Cover with clean moist cloth and leave to proof for 40min or till doubled in size. 

7. Brush bun tops with whisked egg yolk mixed with 1 tsp water, sprinkle some white sesame on centre of each dough and bake in a preheated oven at 180°C for 12 to 15min or till slightly golden brown. 


8. Cool on a wire rack before storing in an airtight container.


Fragrance of freshly baked buns filled my kitchen

Mini wholemeal hotdog buns with a cup of freshly brewed coffee. Simple. Pure bliss :)


Thursday, March 12, 2015

Coconut Milk Loaf Bread 椰奶吐司


I finally got my hands on bread making again and this time I tried a recipe from Carol's bread recipe book which I bought during a staycation in JB some time back.


I prefer reading off books than from the internet. I am quite an old school. Hubby said my recipe book collection is growing and taking up quite abit of our study room space. Oh well, this is one thing he can never stop me from buying (apart from bags! Keke~)


soft and fluffy I could eat it on its own :)

Now back to this bread, a yummy one. It stayed soft even on the 3rd day. 1 way that I can use up my free supply of Kara coconut milk. 

This bread got me hooked on the bread making affair again. What bread should I bake the next round leh?? So many I cannot decide! :P


Coconut Milk Loaf Bread 椰奶吐司 
Recipe adapted from Carol 烘焙新手必備第二本書 (P.280) 
12兩吐司x2組 

材料: 
高筋麵粉270g bread flour (I used total of 300g bread flour) 
低筋麵粉30g  plain flour (Did not use this) 
速發乾酵母 3g instant yeast
細砂糖30g caster sugar
鹽1/8tsp salt
蛋一顆(50g) egg
椰漿 150ml coconut milk (I used Kara coconut cream and it worked well)


作法:
1.第一次發酵後桌上灑些高筋麵粉,將麵團移出到桌面,表面也灑些高筋麵粉
2.將麵團中的空氣用手壓下去擠出來
3.麵團平均分割成12等份滾成圓形,蓋上擰乾的溼布休息15分
4.將麵團擀成橢圓形

5.將捲好的麵團收口朝下朝內間隔適當排入吐司烤模中
6.用手稍微輕輕壓一下使得麵團高度平均
7.在麵團表面噴些水,放在密閉空間中再發酵50-60分鐘
8.麵團約發酵到烤盒約滿模,擦上全蛋液,撒上起司粉
9.放入已經預熱到上火160度C,下火210度C的烤箱中烘烤約35分鐘
10.出爐後馬上從烤模中倒出來,放在鐵網架上放涼
1. If using bread machine, add wet ingredients (coconut milk and egg) into bread machine, and top with bread flour.


2. Place caster sugar at one corner of bread flour, and salt on the opposite corner.  Make a hole in centre of bread flour and spoon in yeast, cover with bread flour.  Put bread machine to start its mixing and kneading process.
3. I just let my bread machine do the mixing of ingredients and remove the dough to knead manually when the dough comes together.
4. As per the usual, knead till bread is elastic and reaches window pane stage.


5. Mould bread into round shape and leave in bowl to proof for 50 to 60min or till double in size.
6. Remove bread and knock out excess air.  Divide into 6 equal portions and shape into round dough, place them into greased bread loaf tin.  Spray top of dough with some water and cover with a cloth and leave to proof  for an hour.  


7. Preheat oven to180dec C.
8. Beat whole egg and brush dough top with eggwash, put to bake in preheated oven for 35 to 38min.


Thursday, November 13, 2014

Chocolate Bread with Golden Raisins


Just last week I gave my bread machine another chance to let it prove its worth of not just being able to do initial mixing and knead, but also to final stage of baking the bread. And it showed me it could produce a decent and soft loaf of bread. 

See how the bread grew and turned into a ball of bread instead of a loaf!  Bread was so soft till top got dent marks when I removed it from the tin to cool.


I used the recipe from Kenwood's BM recipe manual and substituted milk with yoghurt.  Not sure if it was a blessing in disguise to have forgotten to buy the milk while on the way home from work, but this time my BM baked me a loaf bread that stayed soft till the 3rd day.  My last few tries with milk weren't this good, so... yoghurt is here to stay when I wanna put my BM to work from the start till end ;)


Chocolate Bread
 (Recipe from Kenwood World with slight changes)

For 750g loaf
1 egg + water (Place 1 egg into a jug and add in water to make up 225ml)
100ml semi-skimmed milk (I used yoghurt)
1tbsp cocoa powder 
1 1/2tsp salt   
40g caster sugar 
25g butter   
450g unbleached white bread flour   
1 1/2tsp easy blend dried yeast 
75g plain continental style (70% cocoa) chocolate, coarsely chopped or use plain chocolate chips (I included 5 tbsp of golden raisins, briefly rinse in water and drained the raisins before use)

1. Put all ingredients into BM according to above sequence (except for chocolate chips), from wet to dry.
2. Select Function 1 for Basic Bread, 750g weight and the type of crust you like (I chose thinnest crust). Press the Start button to let BM work.
3. Add the chocolate chips (and drained golden raisins) when the bread maker makes an audible sound during 2nd kneading cycle.
4. Remove bread tin when BM is done with the baking, remove bread and let cool on cooling rack before slicing.