The unusually hot and humid weather is making me crave for anything cold to cool my body. Very unlike me, for I am one who is not into icy cold stuff. It is the same with my hubby! And so I thought it was about time I put my popsicle mould (I bought some 1 year back!) into good use. Make some healthy fruit and yoghurt popsicle, will you?
I have got 2 ripened mangoes, a tub of yummy honey yoghurt, a blender and a popsicle mould, so let's do it :)
I got this from Japan Home.
We love this thick and creamy yoghurt.
A must have in our fridge.
This is a super fast and easy popsicle recipe. Seriously, it couldn't get any easier than this! Best of it all was that these are yummy and healthy sweet treats for yourself, and your littles ones :)
Fret not if you do not have a popsicle mould, you can do good even with paper cups, plastic cups or shot glasses for dainty icy treats. Spoon blended mixture into paper cups, cover with clingwrap and stick in centre of clingwrapped cup with a short straw or a snipped wooden chopstick for support of the popsicle.
Wooden chopstick would have been the better support option but I did not have them, so I used straws. It was quite okay too just that you would have to held it with more care :)
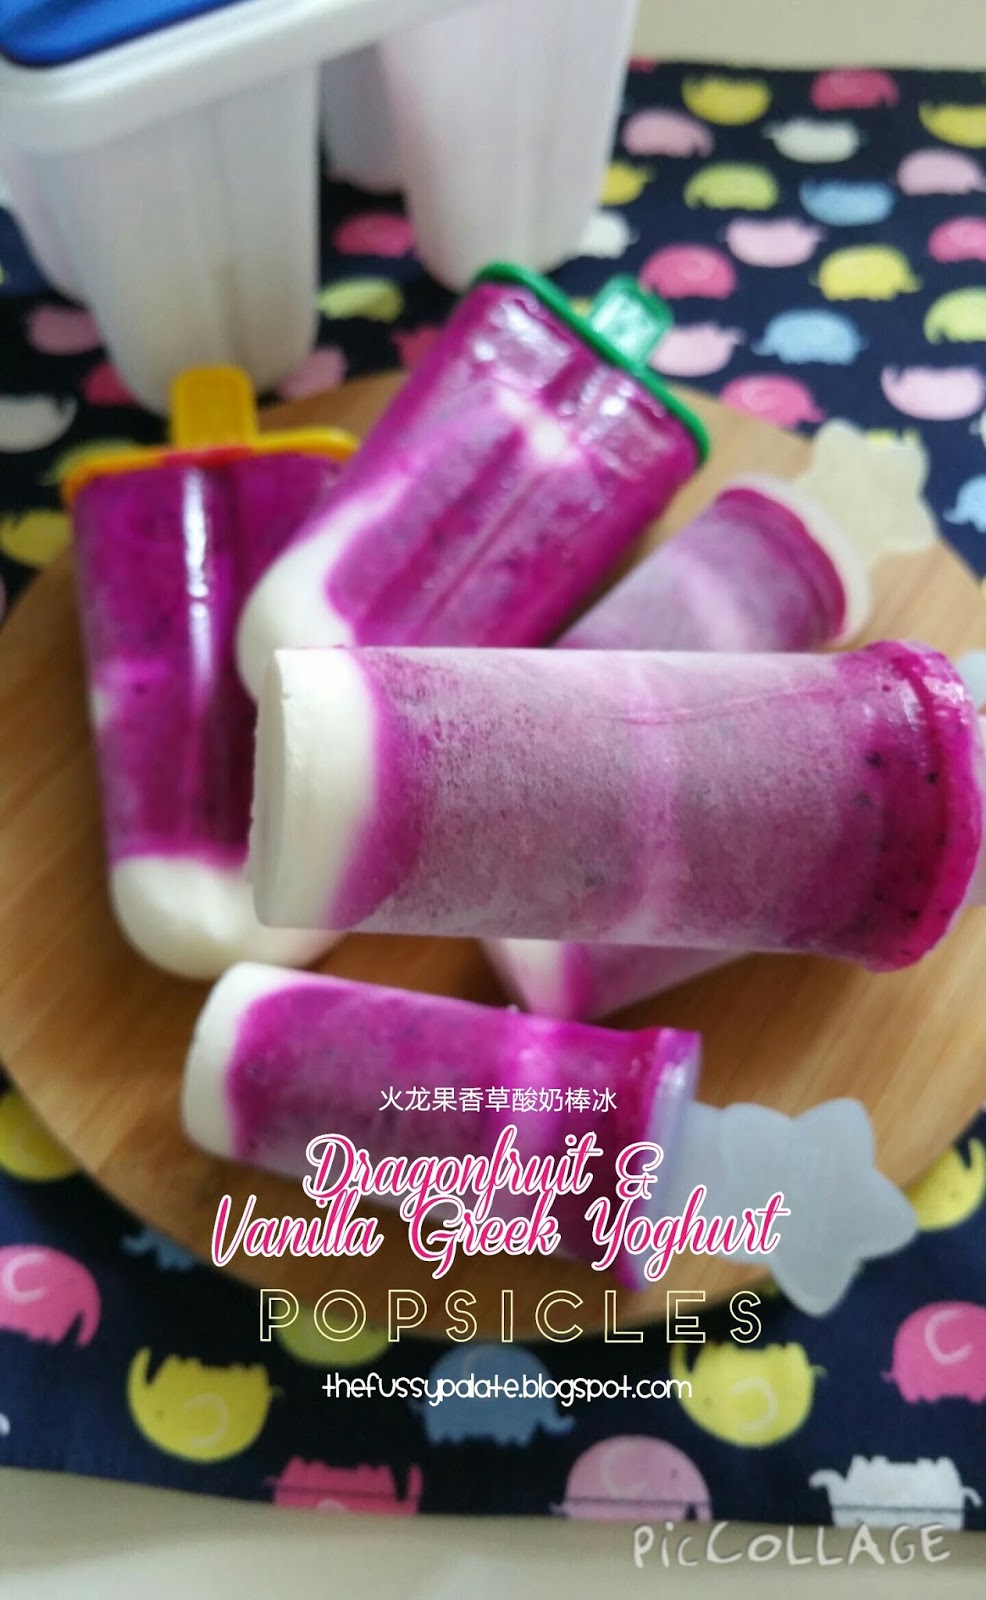
Mango Honey Yoghurt Popsicle
220g mango puree (I used 2 Thai Honey Mangoes)
170g Greek Honey Yoghurt
1. Slice and place mango pieces into blender. Blend!
2. Spoon in Honey Yoghurt into mango puree and blend again.
I filled the moulds with half of the mango yogghurt puree, then spoon in half a tbsp of honey yoghurt and finally topped it off with the remaining mango yoghurt puree. Use a chopstick and loosely stir the puree to create a swirl pattern.
3. Spoon puree into popsicle moulds or paper cups. Do not fill to brim of mould as popsicle will "pop up" slightly when frozen.
4. Place into freezer.
I had extra puree and so the remaining were poured into paper cups.
5. When removing, wrap mould with a hot dish cloth and carefully dislodge popsicles. Enjoy!