Showing posts with label Chilli. Show all posts

Tuesday, January 19, 2016

Spicy Basil Minced Pork with Fried Egg & Rice

On days when the cooking mood kicks in, my hubby will take over a lunch or dinner slot and cook me a yummy meal. Some weeks back, he cooked me a plate of spicy basil minced pork with fried egg over a plate of hot plain rice. It was fantastically yummy! The minced pork was juicy, tender  (and sooo spicy!) and fragrant! Oh and the egg was fried till just right, the way I like it, not too fry yet crispy on the sides of the whites and yolk still runny when pricked.

I thought this gotta be put down in my blog to share with all, and so here it is.  I am gonna request for Hubby to cook me this again!  He's gonna feel real flattered :P


Recipe by Eating Thai Food 
(Slight changes were made to suit our preference)


For the egg
  • 1 egg (we used 2 eggs)
  • 2 tablespoons of oil for frying
Basil chicken
  • 1 chicken breast (or any other cut of boneless chicken, about 200 grams) - we used minced pork instead
  • 5 cloves of garlic
  • 4 Thai chilies (we used chilli padi)
  • 1 tablespoon oil for frying
  • 1 teaspoon of oyster sauce
  • ½ teaspoon light soy sauce
  • ½ teaspoon sugar
  • 1 splash of dark soy sauce
  • 1 handful of Thai holy basil leaves
(Hubby marinated the minced pork a night before with half tsp sesame, light sauce sauce 1/2 tbsp light soy sauce, a dash of pepper and threw in some basil leaves) - marinating the meat made it tastier but of course you may skip this marinate step if preferred but and just stir fry your meat with the above condiments.)

First, fry the egg
  1. Heat about 2 tablespoons of vegetable oil in a wok or frying pan on high-medium heat.
  2. When the oil is hot and sizzling, drop in the egg. Let it sizzle and bubble up, and at the same time, splash some of the hot oil onto the top of the egg (don't flip the egg, unless you really want to).
  3. After the egg looks about right to your cooked likeness (I like mine runny), take it out, drain the excess oil, and put it on a plate for later.
Basil chicken
  1. Cut the chicken into small bite sized pieces.
  2. Rinse and peel the garlic and chilies, and pound them in a mortar and pestle (alternatively you can just mince them with a knife). They don't need to be super fine, you just want to bring out the oils and flavors from the garlic and chilies.
  3. Pluck a good sized handful of holy basil leaves off the stems.
  4. Now it's time to start cooking. Heat your wok on high heat, and add about 1 tablespoon of oil to the pan.
  5. When the oil is hot, add the chilies and garlic. Stir fry them for about 20 seconds or so until they get really fragrant, but don't let them burn or get too dry.
  6. Toss in your chicken. Keep stir frying continuously. At this stage you want to continue to stir and cook your chicken until it's just about fully cooked all the way through (depending on the size pieces of chicken and how hot your fire is, it should take about 2 - 3 minutes). If it starts to get dry, add just a tiny splash of water.
  7. Add 1 teaspoon of oyster sauce, ½ teaspoon light soy sauce, ½ teaspoon sugar, and finally a splash of dark soy sauce. Keep stir frying for about another 30 seconds.
  8. Grab a handful of holy basil, toss it into the pan, fold it into the chicken, and then immediately turn off the heat (if you're using an electric stove, you'll want to remove the pan from the burner). The holy basil really only needs to cook for about 5 seconds, and it will continue to wilt and cook from the existing heat of the chicken. This step is important because if you cook the basil for too long, it loses some of its glorious flavor and gets slightly chewy.

Sunday, August 23, 2015

Stir-fry Lotus Roots with Sambal Chilli

Back to work for 2 weeks already. New job, new workplace, new people. Everything has been good thus far.

Finally found some time to put up a post and keep my blog alive. This dish is one that I adore alot. Whether it is being cooked in soup or stir-fries, I love eating lotus roots.

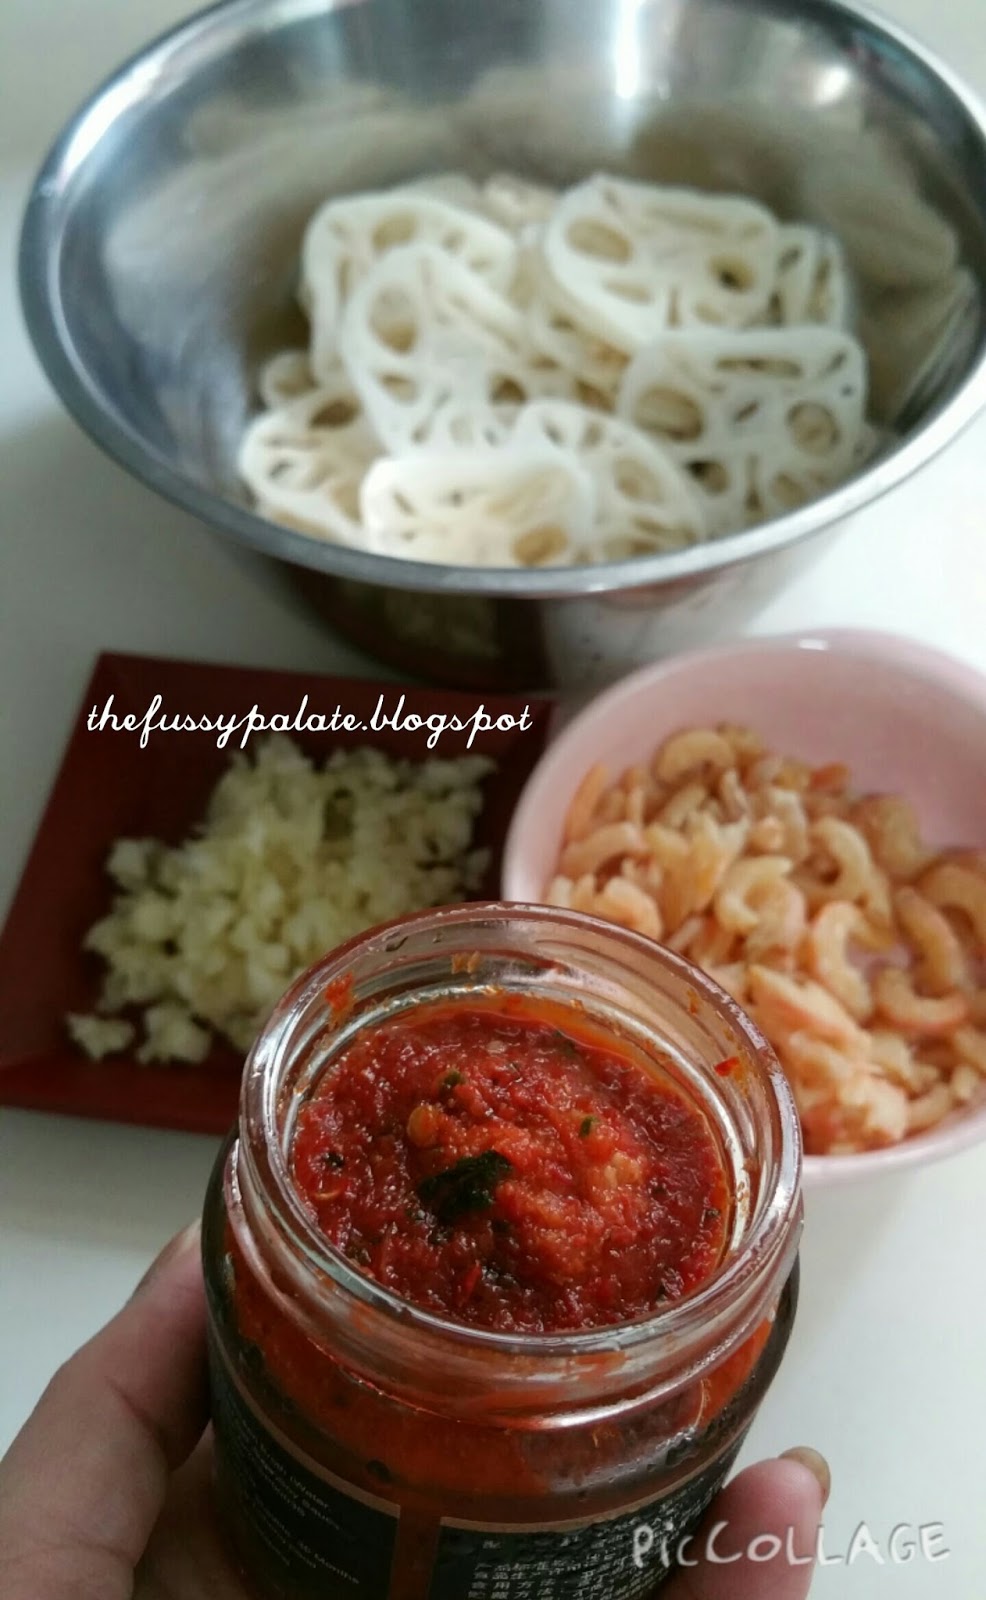
This round, I aren't cooking lotus roots in soup but doing a stir-fry with it. If your Mummy gives me a little tub of sambal chilli, put it to good use!

My Mum makes mean sambal chilli sauce!


Love the spicy sweet taste this dish has. Pairing the minced garlic and dried shrimps with the lotus makes this dish very appetising. I could down a bowl of rice with it!


Stir-fry Lotus Roots with Sambal Chilli

500g lotus roots (de-skinned, washed & thinly sliced)
2 Tsp sambal chilli
2 tbsp canola oil
2 tbsp dried shrimps, soakedfor 30min and drained
4 garlics, minced
2 to 3 tbsp water
1 tbsp sugar
1/2 tsp salt

Spring onion bits - Garnish


1. Heat oil in pan and fry garlic, sambal chilli and dried shrimps till fragrant.


2. Add in sliced lotus and stir fry till well mixed.
3. Add in sugar and salt and stir fry well. Stir in water and let it come to boil till gravy is formed. Garnish with spring onion bits and serve immediately with rice.


Saturday, December 13, 2014

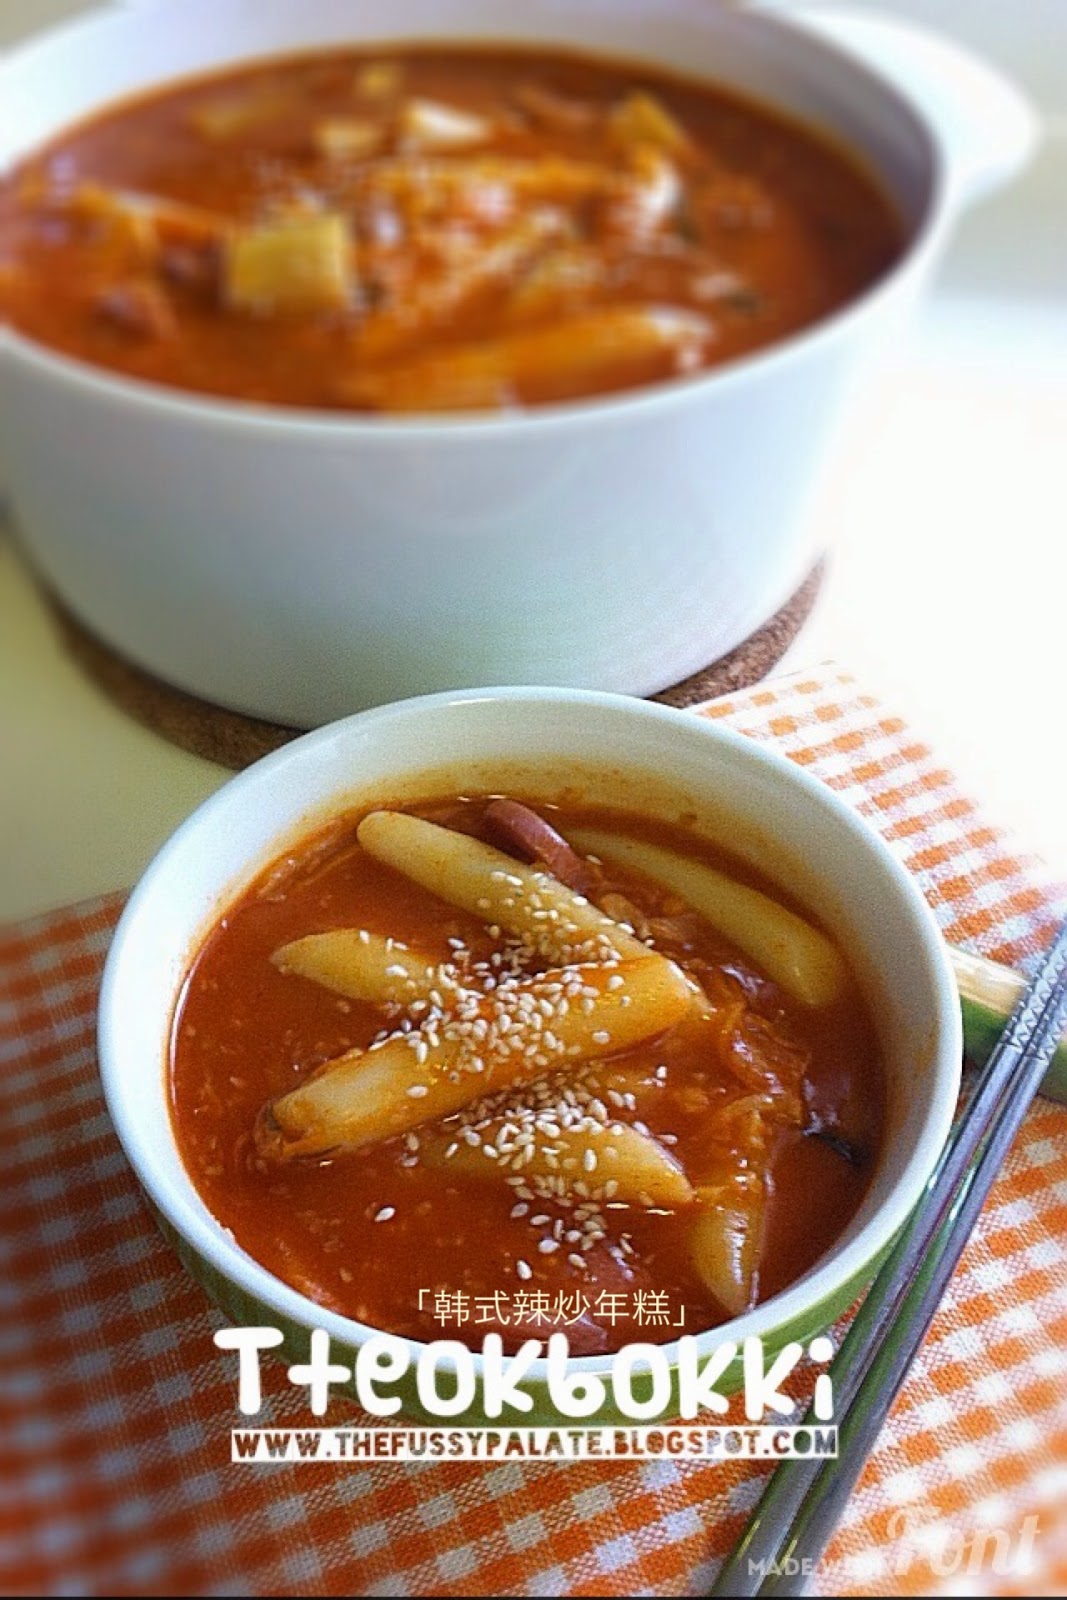
Tteokbokki (Korean Spicy Stir-fried Rice Cake)


Have you tried tteobokki, Korean Spicy stir-fried rice cake before? I love this Korean dish which is commonly found along the streets of Korea. I love it for its spicy chewy tasting rice cake. I love the bite of the rice cake.  I like that it can fill me up easily, and that leftovers can be kept overnight, only to be reheated the next day and paired with instant ramen.

Authentic tteokbokki does not have the addition of chicken franks and chinese fishcakes but i added them anyway because this was gonna be our one-pot dish for a Saturday evening. I could not get Korean fishcakes, hence I used the chinese one. Oh... I miss tteokbokki now as I blog away! I love Korean food. Okay, Korean anything, anything Korean I all like :P


Tteokbokki (Korean Spicy Stir-fried Rice Cake)
(Serves 3 to 4)

1 packet of rice cake (I bought Singlong brand, 500g rice cake)
300g bokchoy or cabbage (wash and cut into 1 inch size)
1 sheet of Korean fishcake (I used 1 whole pc of the chinese kind)
5 pcs spring onion (3 to cut into 1-inch long, 2 to cut into small bits for garnishing)
1 chicken frank (sliced thinly) - optional
2 to 3 tbsp Gochujang, Korean red chilli pepper paste
About 1.2l anchovy stock (1 handful of dried anchovies + 1.3l water)
6 pc garlic, minced
1 tbsp light soy sauce
2 tbsp sugar
2 to 3 tsp sesame seeds
1 tsp sesame oil

1. Remove head and guts of dried anchovies and rinse with water twice. Drain and put anchovies into stock bag or straight into small pot. Fill pot with 1.5l water and bring to a gentle boil, without lid on hight heat. Bring down heat to medium high and let boil for further 15 to 20min. Use a strainer to remove anchovies. Set aside.
2. This could be an extra step but I normally do this to remove excess oil and perhaps quicken the cooking of the rice cake at the later stage. In a separate pot of boiling water, blanch rice cakes for  about 1min, remove with sieve or strainer and leave in a pot of room temperature water.

3. Pour anchovy stock into a bigger cooking pan and turn on high heat and bring to a boil. Add in minced garlic and Korean red chilli pepper paste (gochujang) and stir well till  chilli paste dissolves. Add in sugar and light soy sauce and stir till sugar dissolves. You may taste the sauce to see if you would like to add in more chilli paste or add in more sugar to bring down the spiciness.

4. Add in blanched rice cakes, sliced chicken franks, fishcakes and spring onions, stir and mix well. Cover with lid and let boil for about 8min.

5. Stir in bokchoy or cabbage and stir well. Cover and let boil for further 5min or so till rice cakes have softened. Stir in sesame oil and sesame seeds. Serve!

An easy and simple to cook yummy Korean street food!

To reheat, add in a little water and bring to boil on low heat. Sprinkle with some sesame seeds and serve.

Tuesday, June 3, 2014

Stir-fried Long Beans with Sambal Dried Shrimps

Sometime back, Mum made some sambal belacan and gave me a small tub of it.  Happy was I! Yeah, my mum does mean sambal belacan!

With our busy lifestyle, I stashed the tub in a corner of my freezer and kinda "overlooked" it a little till Mummy asked me if I still want more of it when we were back at my parents' place last weekend. She then told me I could cook a simple and nice dish out of it and I made this dish the following weekend.

That evening, I cooked slightly more rice than usual yet Hubby and I wiped it all dishes clean. A simple and sinful indulgence at the comfort of our home ;)


Stir-fried Long Beans with Sambal Dried Shrimps
(Serves 2 to 3)

1 tbsp cooking oil
200g long beans (wash & cut to 1.5 inch)
2 tbsp sambal belachan
3 to 4 tbsp water
1 tbsp cooking wine
1/2 tbsp sugar
salt, to taste
2 tbsp dried shrimps (soaked till soften, drained and finely chopped)
5 pcs of garlic (finely chopped)
3 pcs of shallots (finely chopped)

1. Heat cooking oil till hot, add in chopped dried shrimps, garlic and shallots and stir fry to mix well.
2. Add in sambal belachan and stir fry till fragrant.
3. Add long beans, sugar, cooking wine, followed by water and stir well. Cover for 5 minute and let cook on high heat.
4. Stir well to coat long beans with sambal sauce.  Add salt to taste and serve.